
Wallpaper has come a long way since my mom covered my bedroom walls in pink carousels (yes, the kind with horses) in the ’90s.
I remember her hanging that ultra-girly pattern (that I loved as a kid) with a thick, goopy paste and working back and forth to smooth out any air bubbles with a massive paddle brush.
Then, less than 10 years later, she pulled all of it down — piece by piece — when I grew into a pre-teen and demanded purple walls for my moon and stars themed bedroom.
Did you know that wallpaper comes pre-pasted now and is easily removable? We can likely credit these updates with the resurgence of use we’ve seen in the last couple of years.
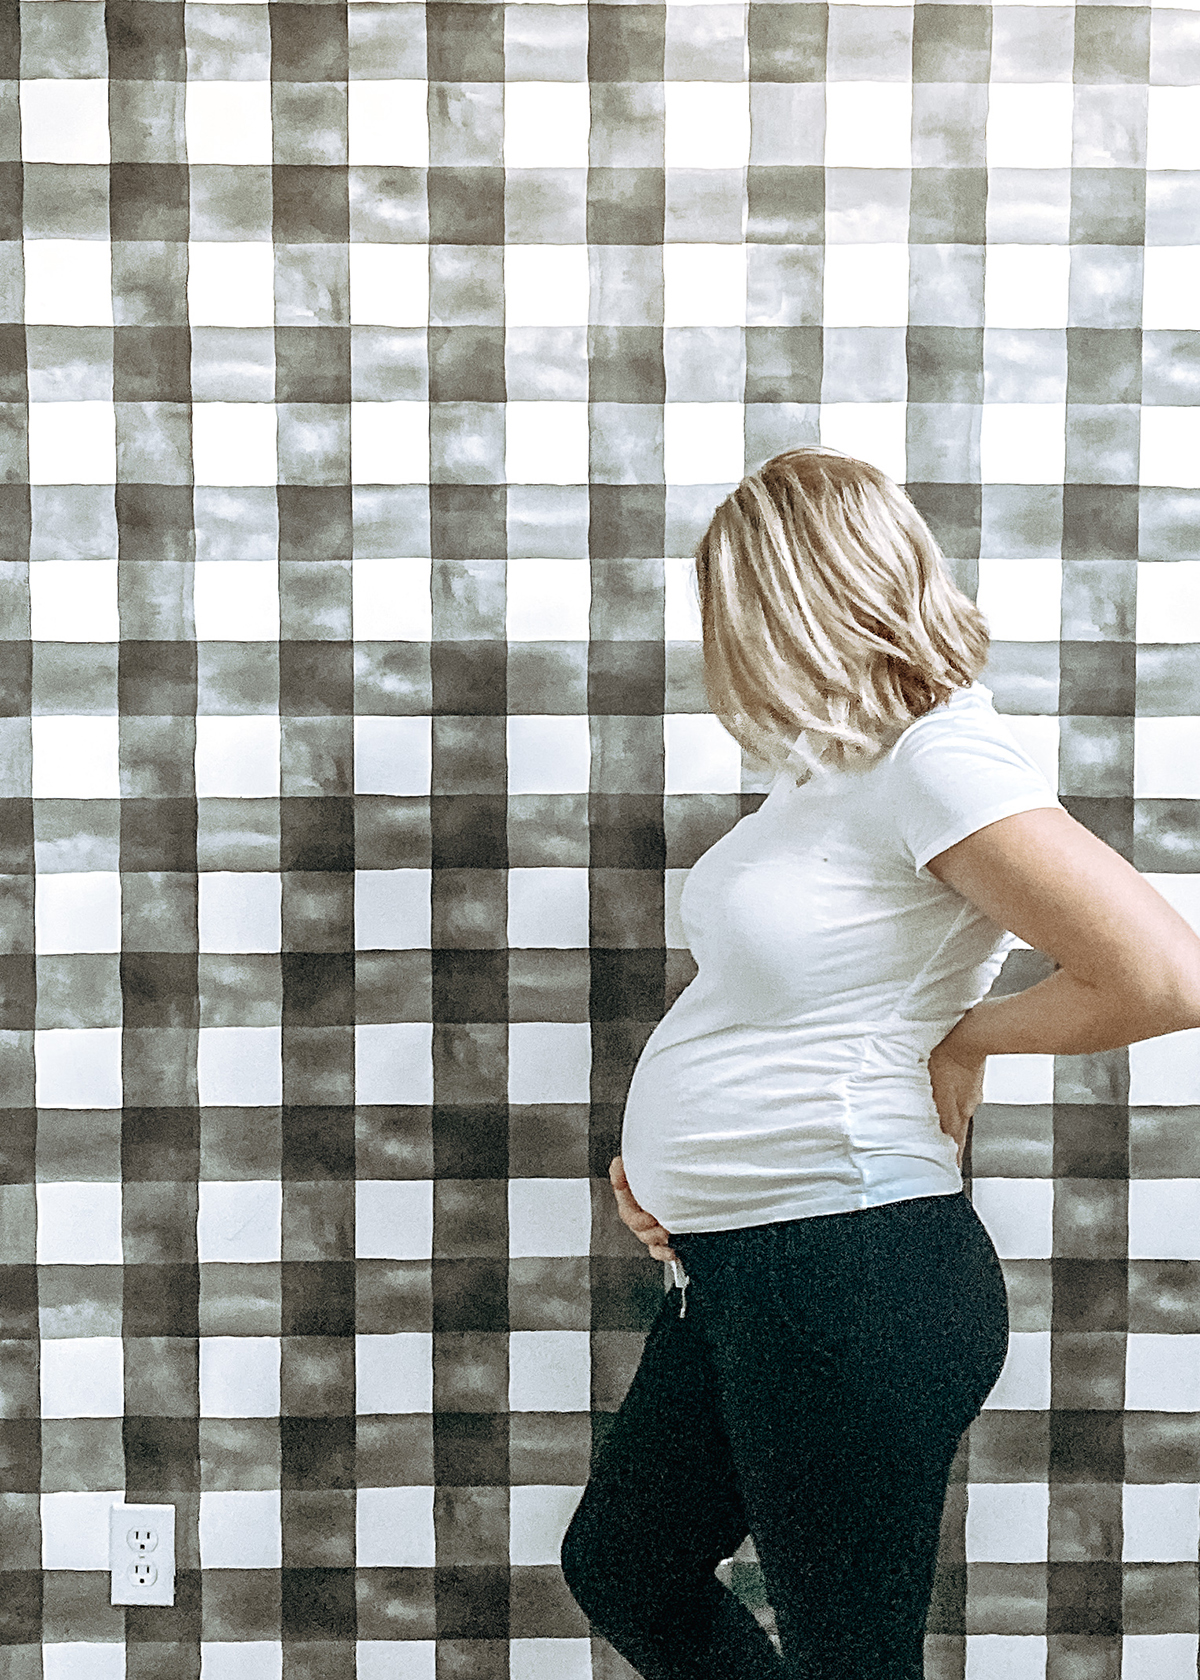
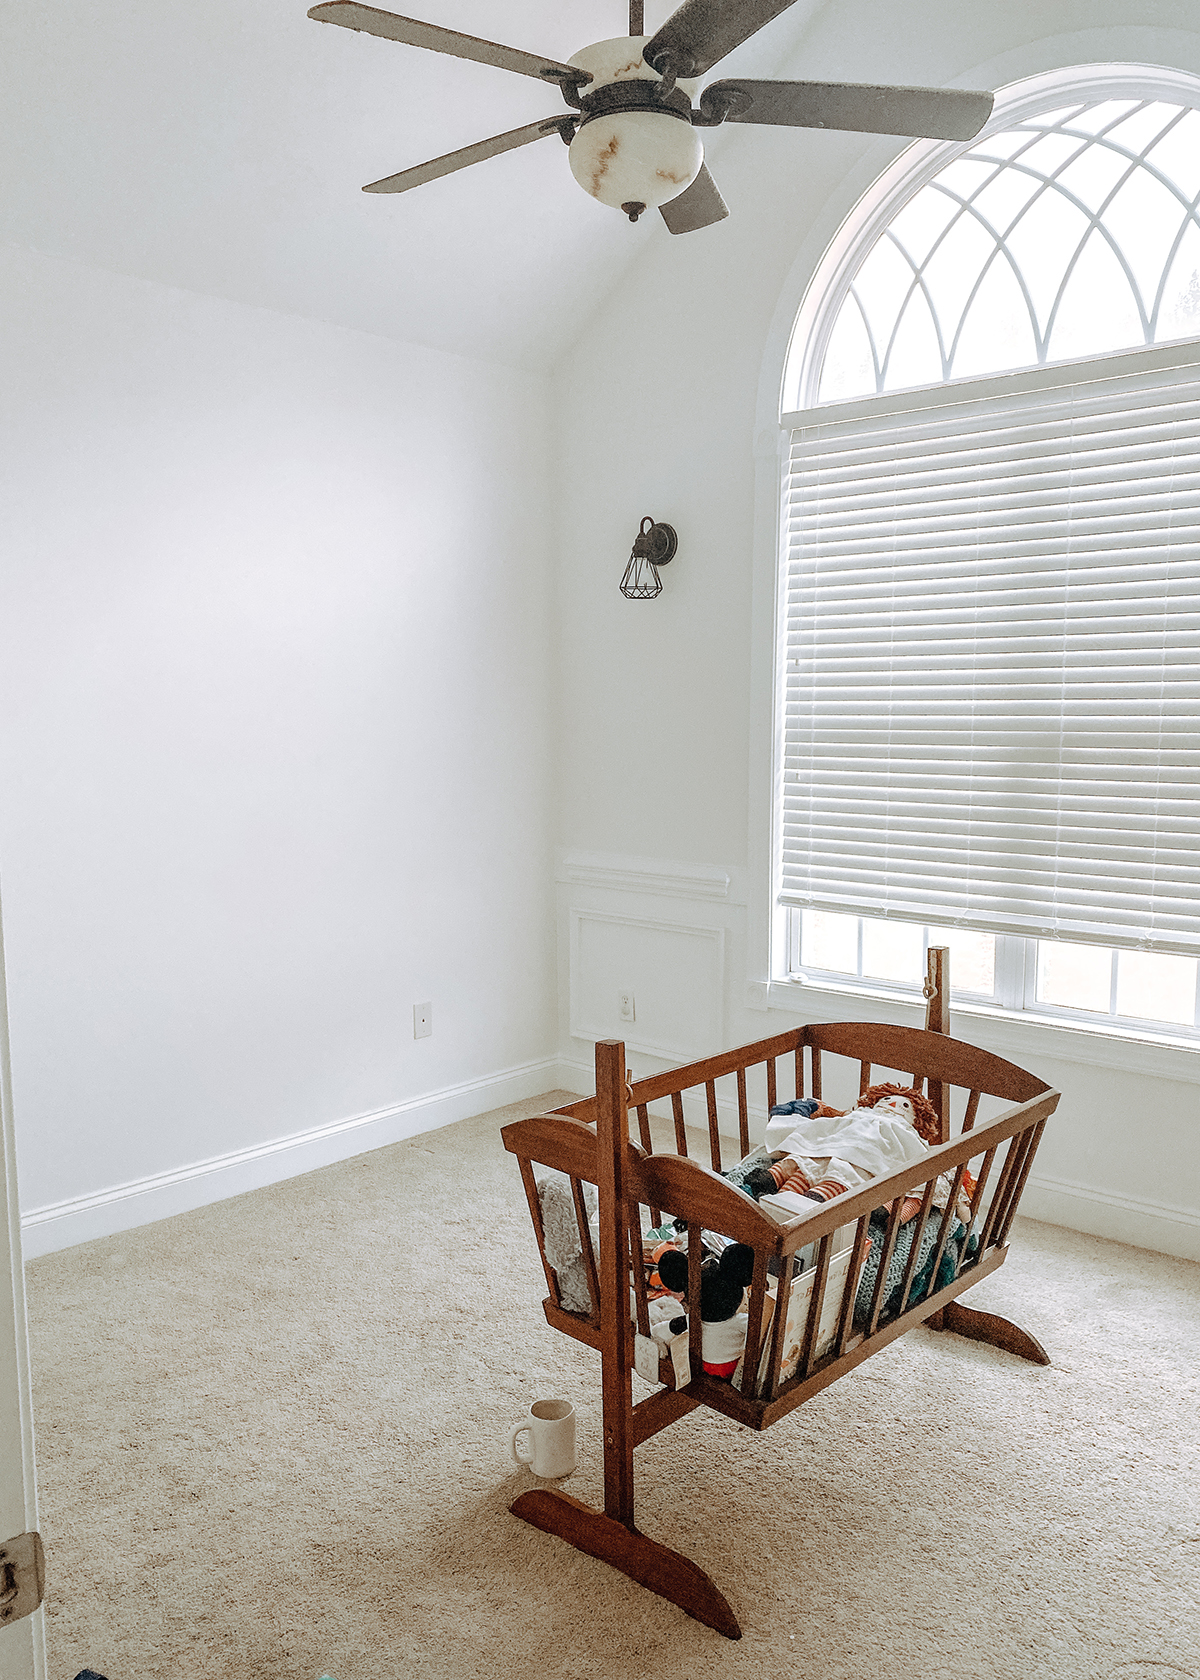
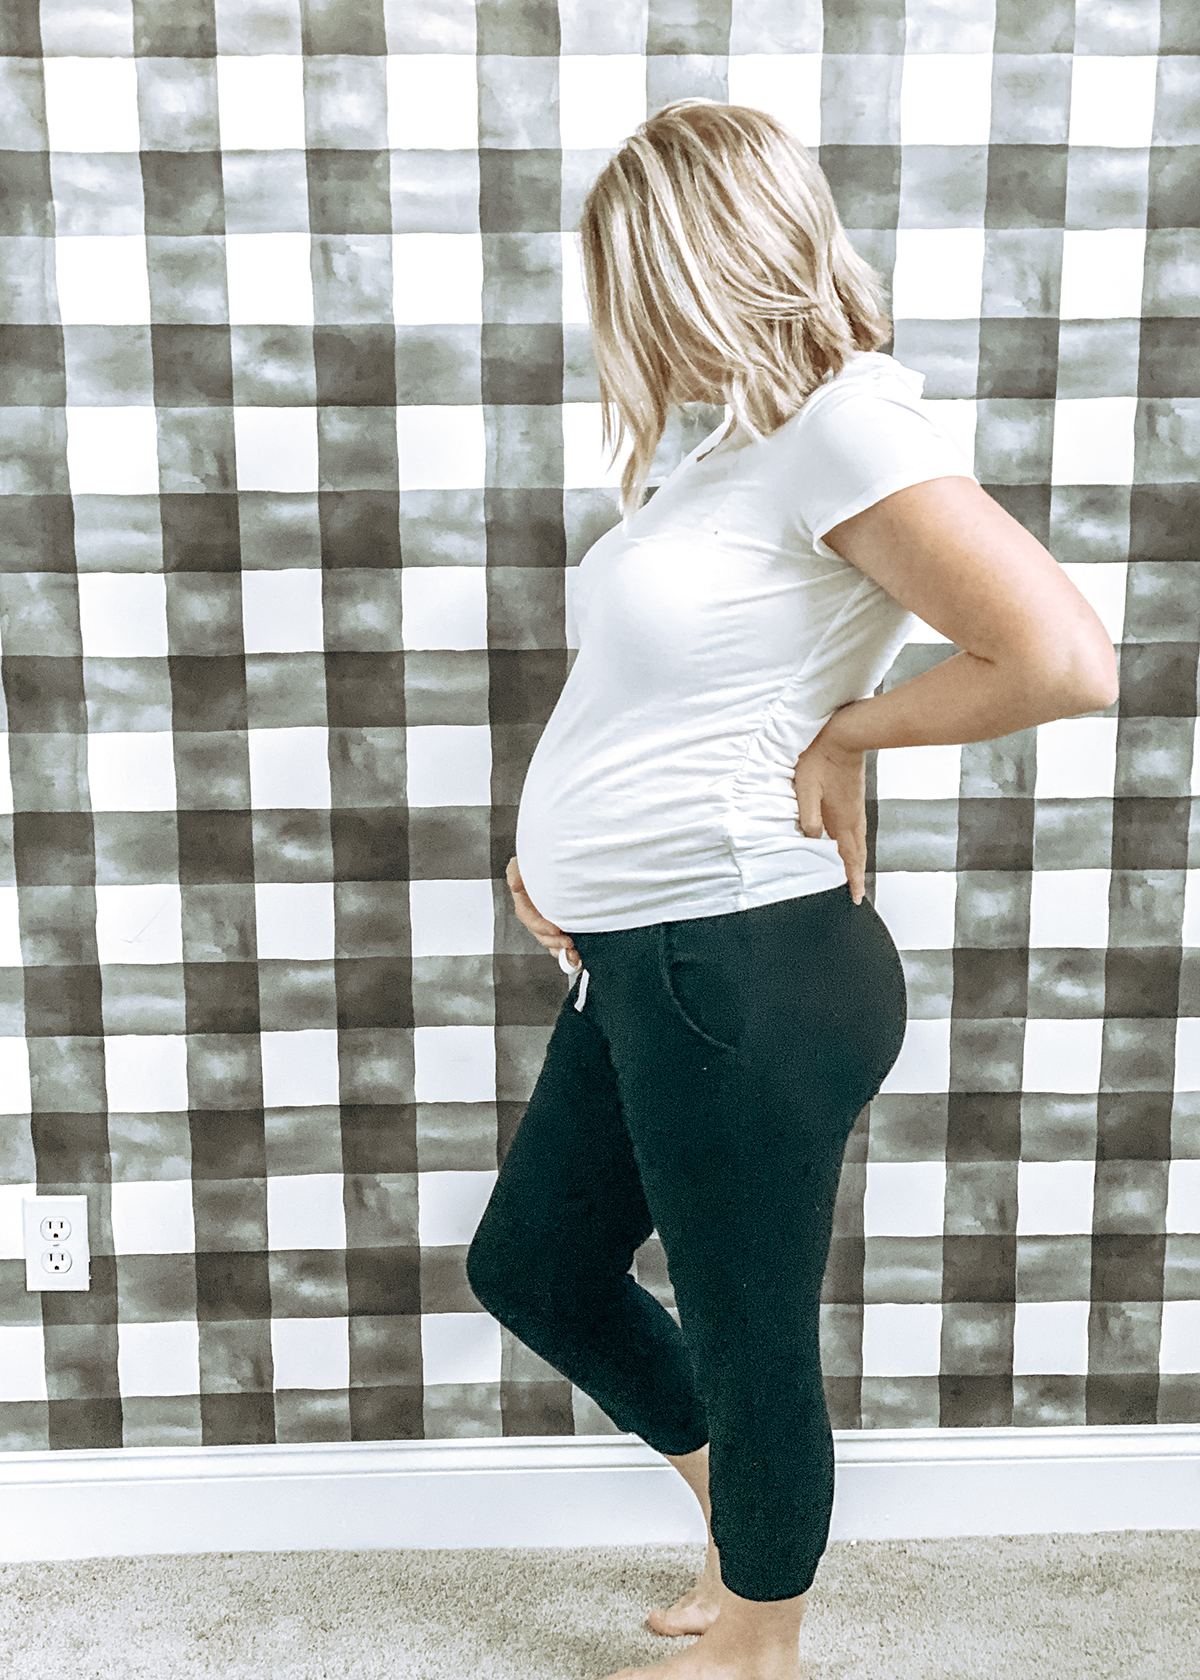
Personally, I love a good wallpaper. And when I began thinking about our baby’s nursery (even before we were pregnant), I knew I wanted to incorporate a fun print as an accent wall.
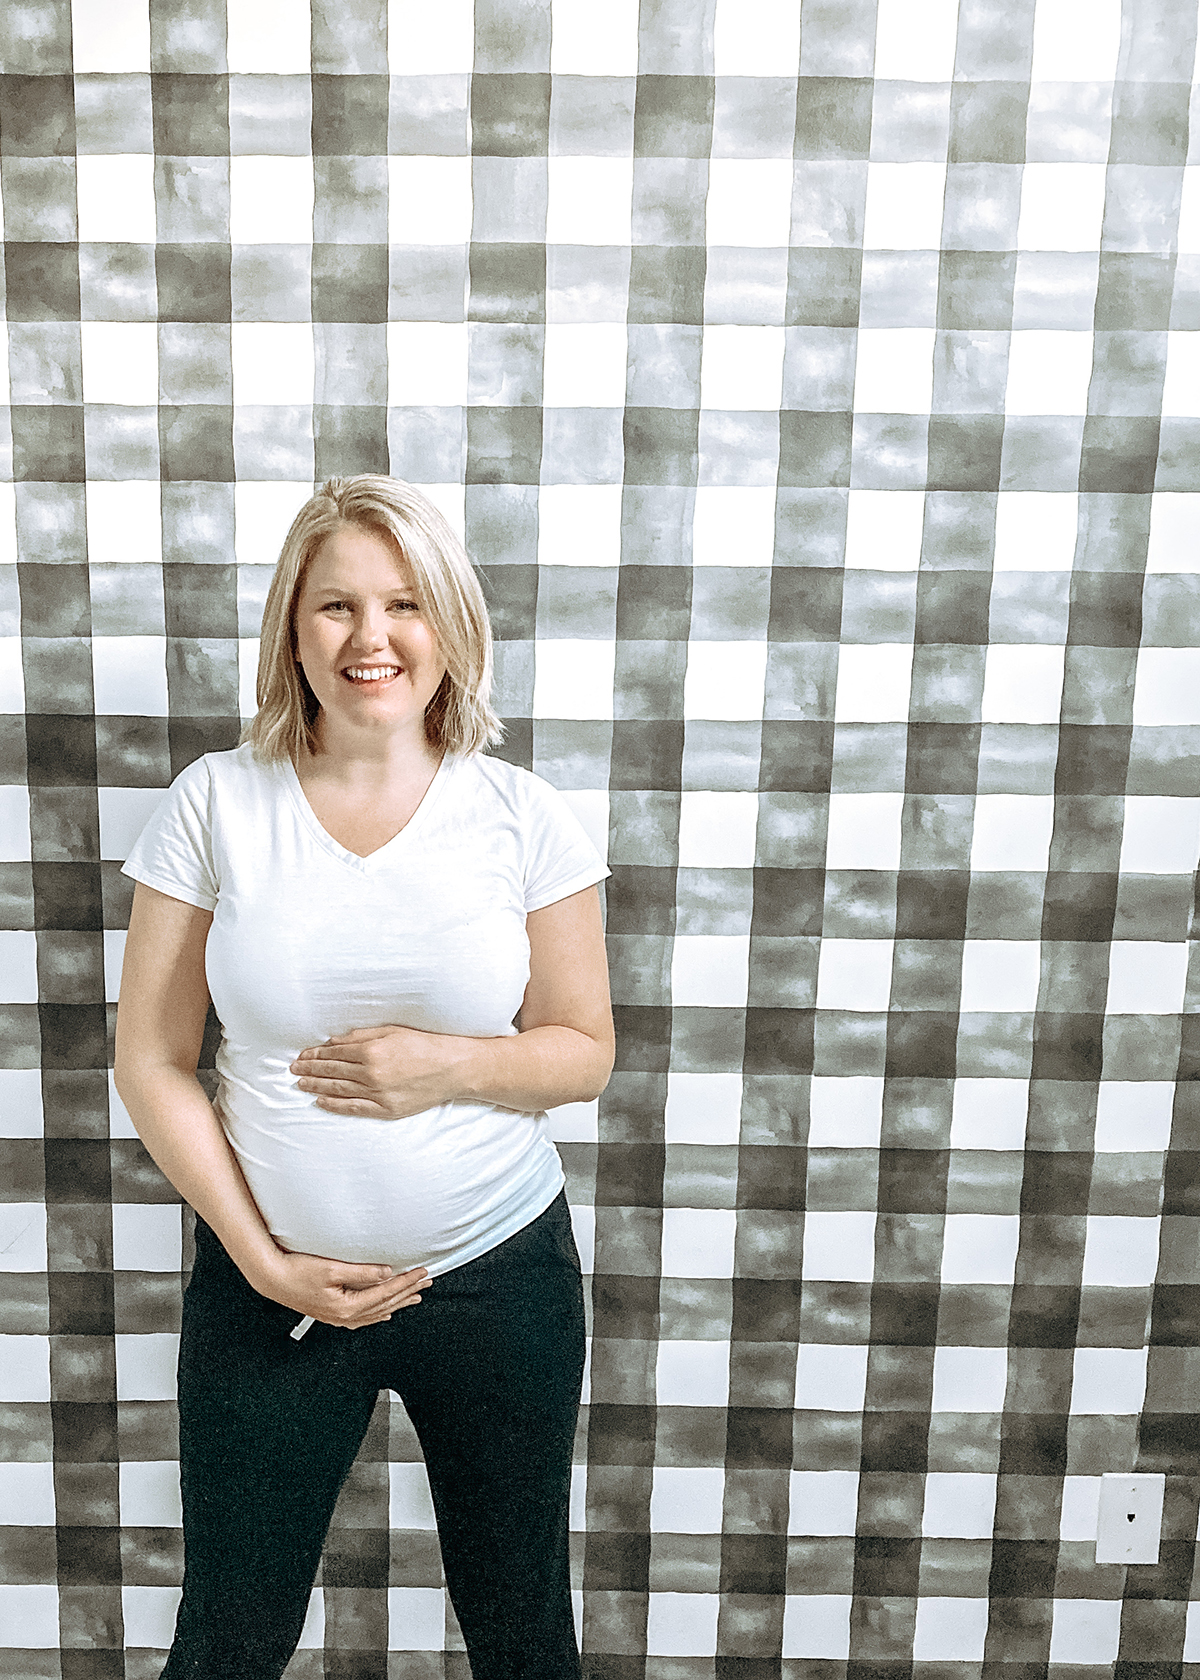
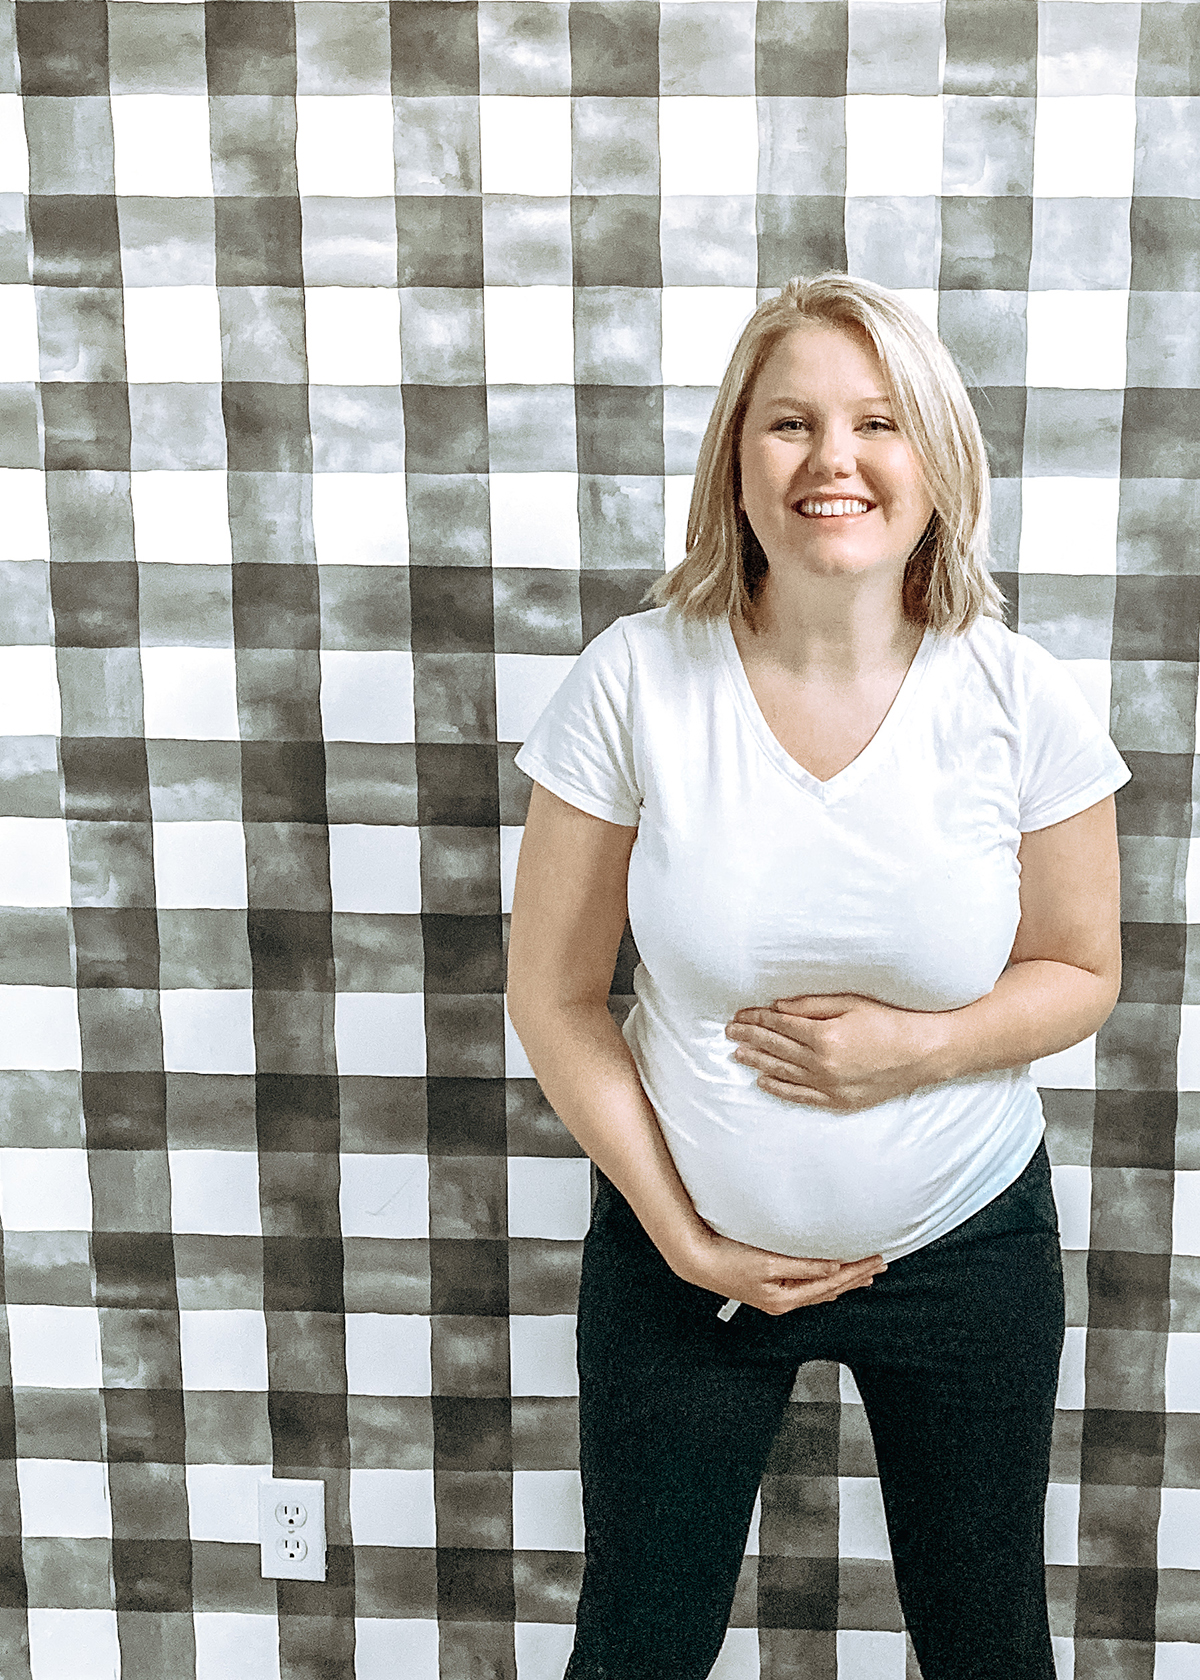
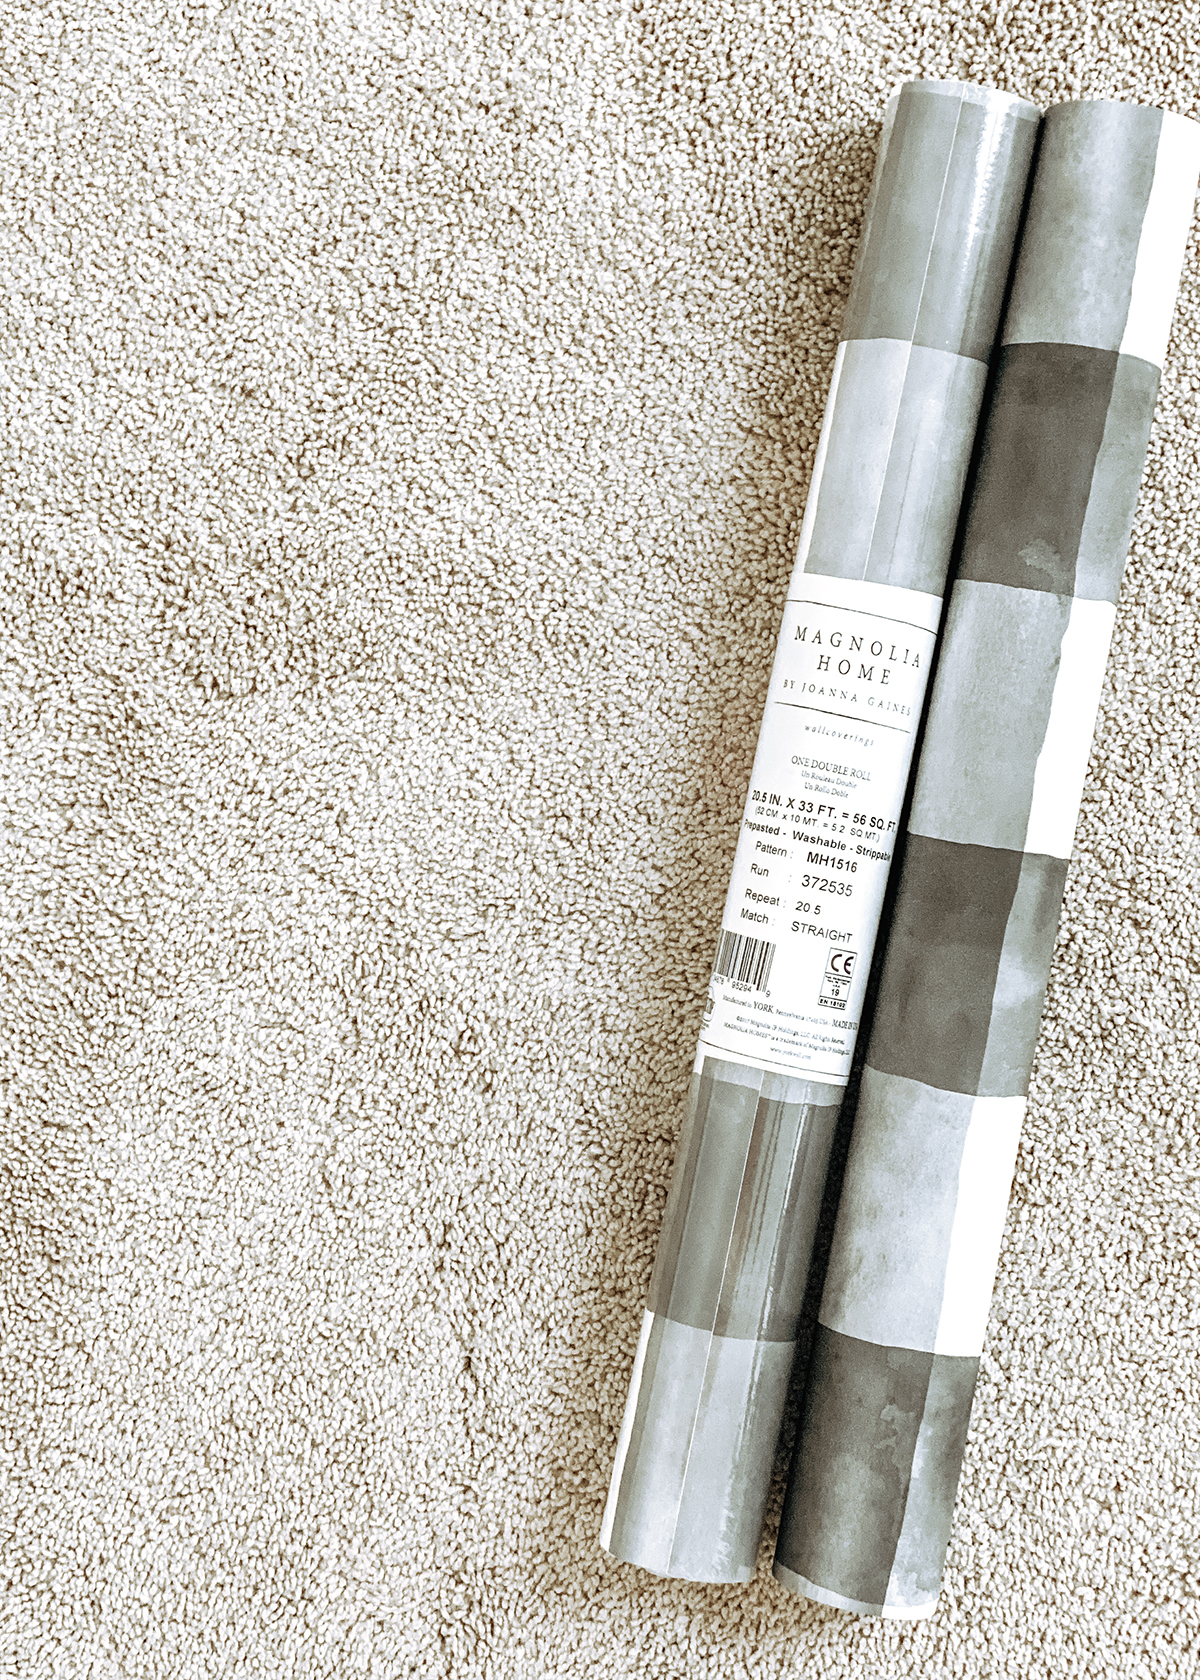
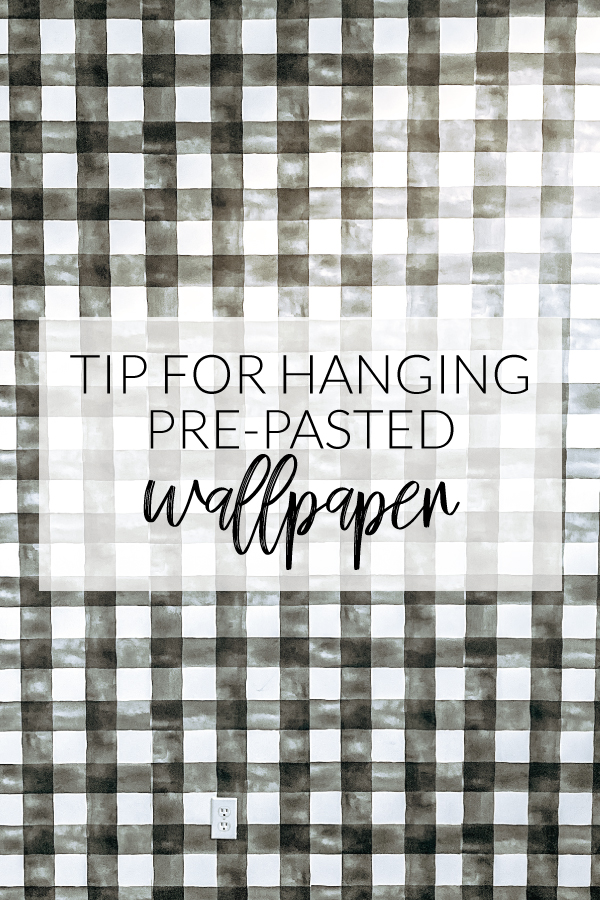
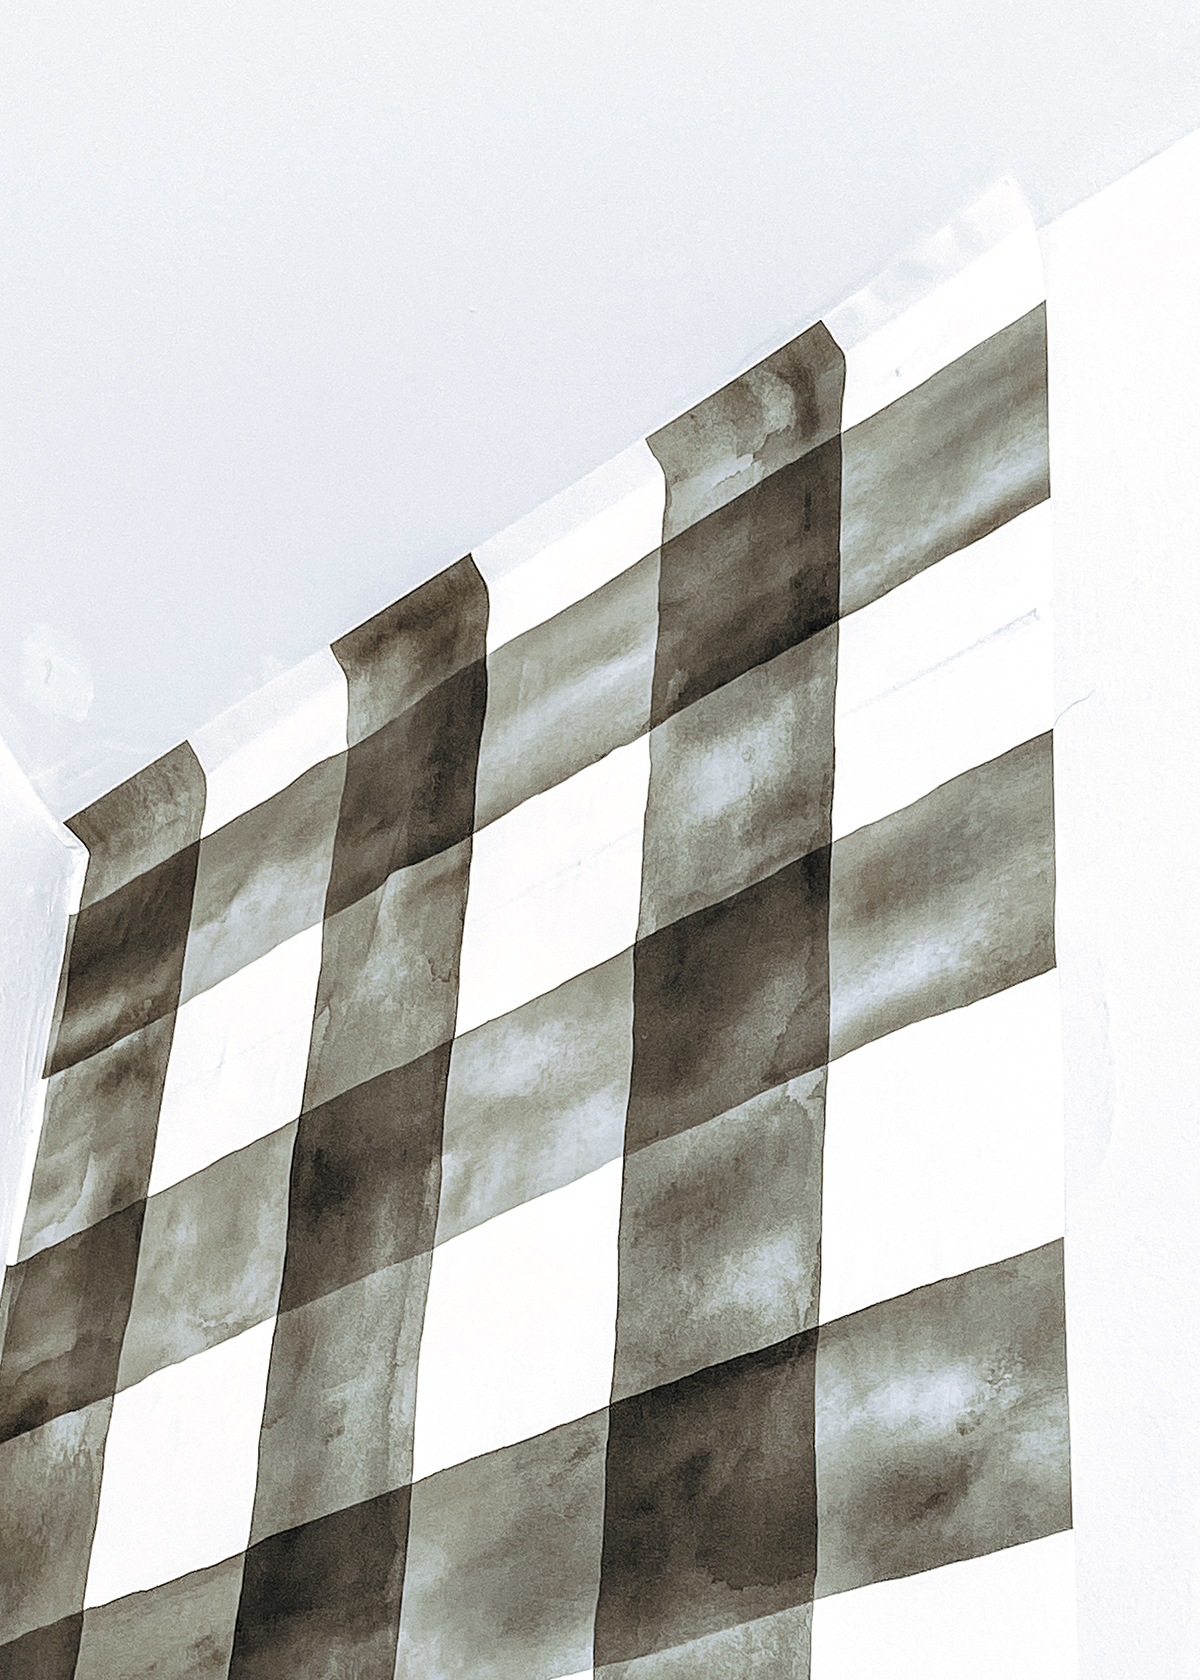
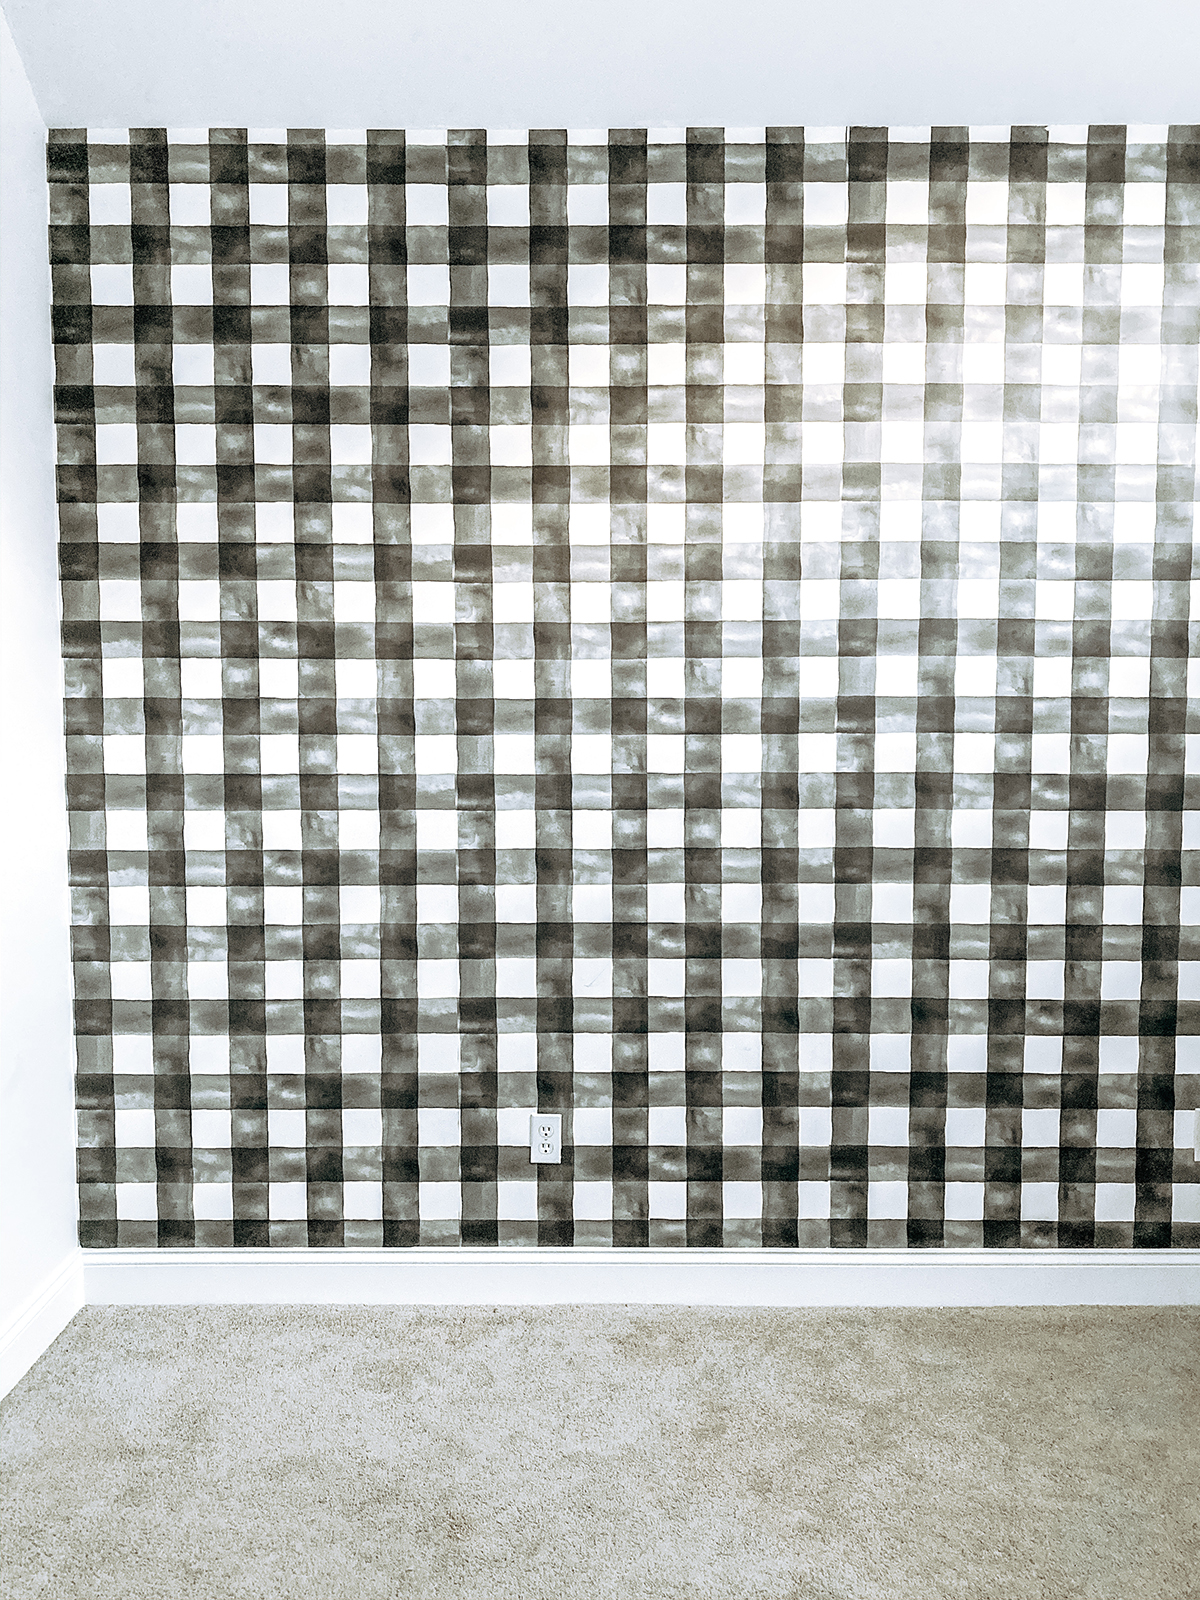
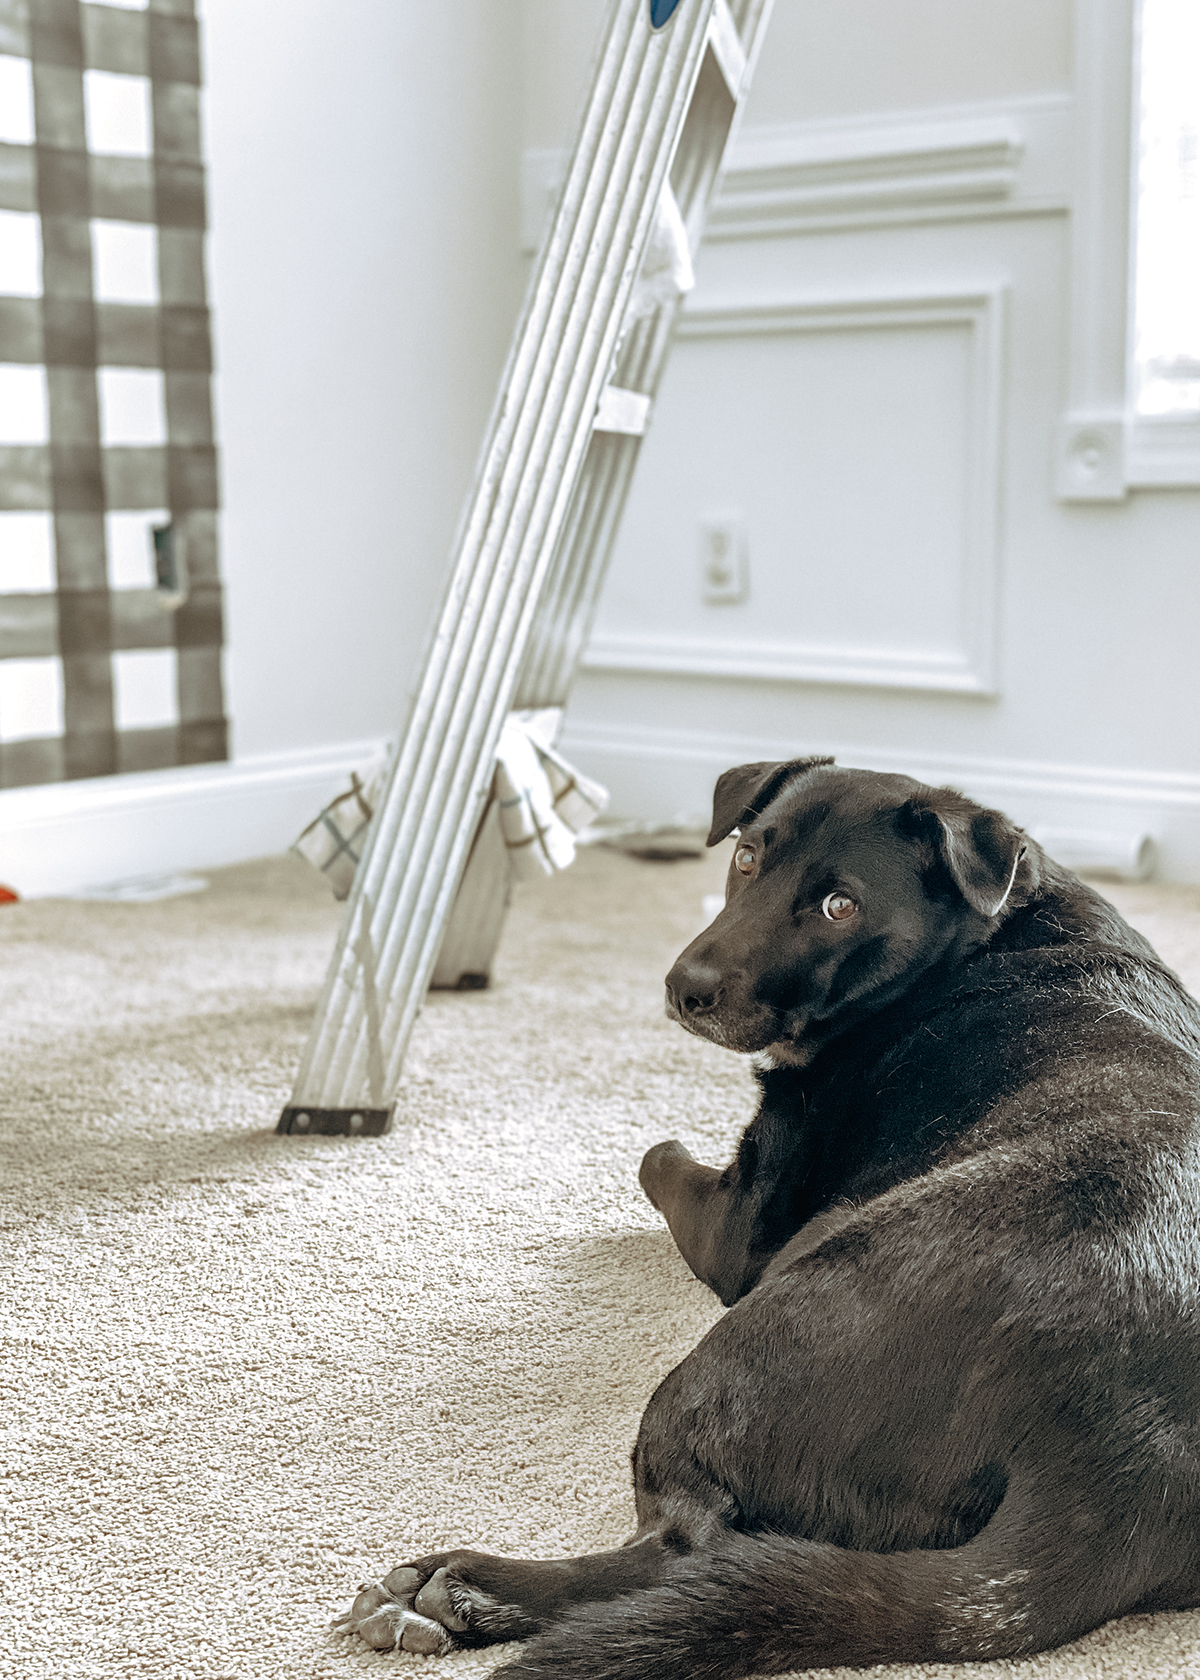
As soon as we learned we’re expecting a boy, I ordered this Magnolia Home black and white watercolor check wallpaper. It is a timeless pattern that will grow with him, and I love that the paper is easily removable and washable with mild soap and water.
The wall we planned to cover measures in at 93.5 square feet, so I ordered two rolls of wallpaper (each roll covers 56 square feet).
Because you have to overlap the strips of paper as you hang them to get the pattern to match up (something I didn’t take into consideration before we started this project), two rolls was exactly enough paper. We didn’t have ANY leftover.
As we were getting close to the end of the wall, I was looking at the area we had left to cover and the amount of paper we had left and was definitely sweating it.
The overlapping was the biggest lesson we learned while putting up our baby’s wallpaper, but it wasn’t the only one. Everything else we figured out along the way and our tips to help you seamlessly hang wallpaper on your own are below.
Supplies needed:
- pre-pasted wallpaper of your choice (this is the one we used)
- ladder
- old towels to wipe away wallpaper paste as you hang it on walls
- razor knife
- yard stick
- scissors
- screw driver for wall outlet covers
- spray bottle
- smoothing tool
Tip No. 1 /// First, measure your wall (or walls) 3 times to make sure you have the square footage correct before ordering your wallpaper. And, as I mentioned above, take into consideration that you will have to overlap pieces to get your wallpaper pattern to line up perfectly. This absolutely will eat into your square footage.
You want to make sure to order all the rolls you need at once so you have the best chance of getting rolls that were produced at the same time. This will help prevent any weird color or print discrepancies that would look bad once the paper is on the wall.
Tip No. 2 /// Once you’re ready to get to work, have all your supplies handy.
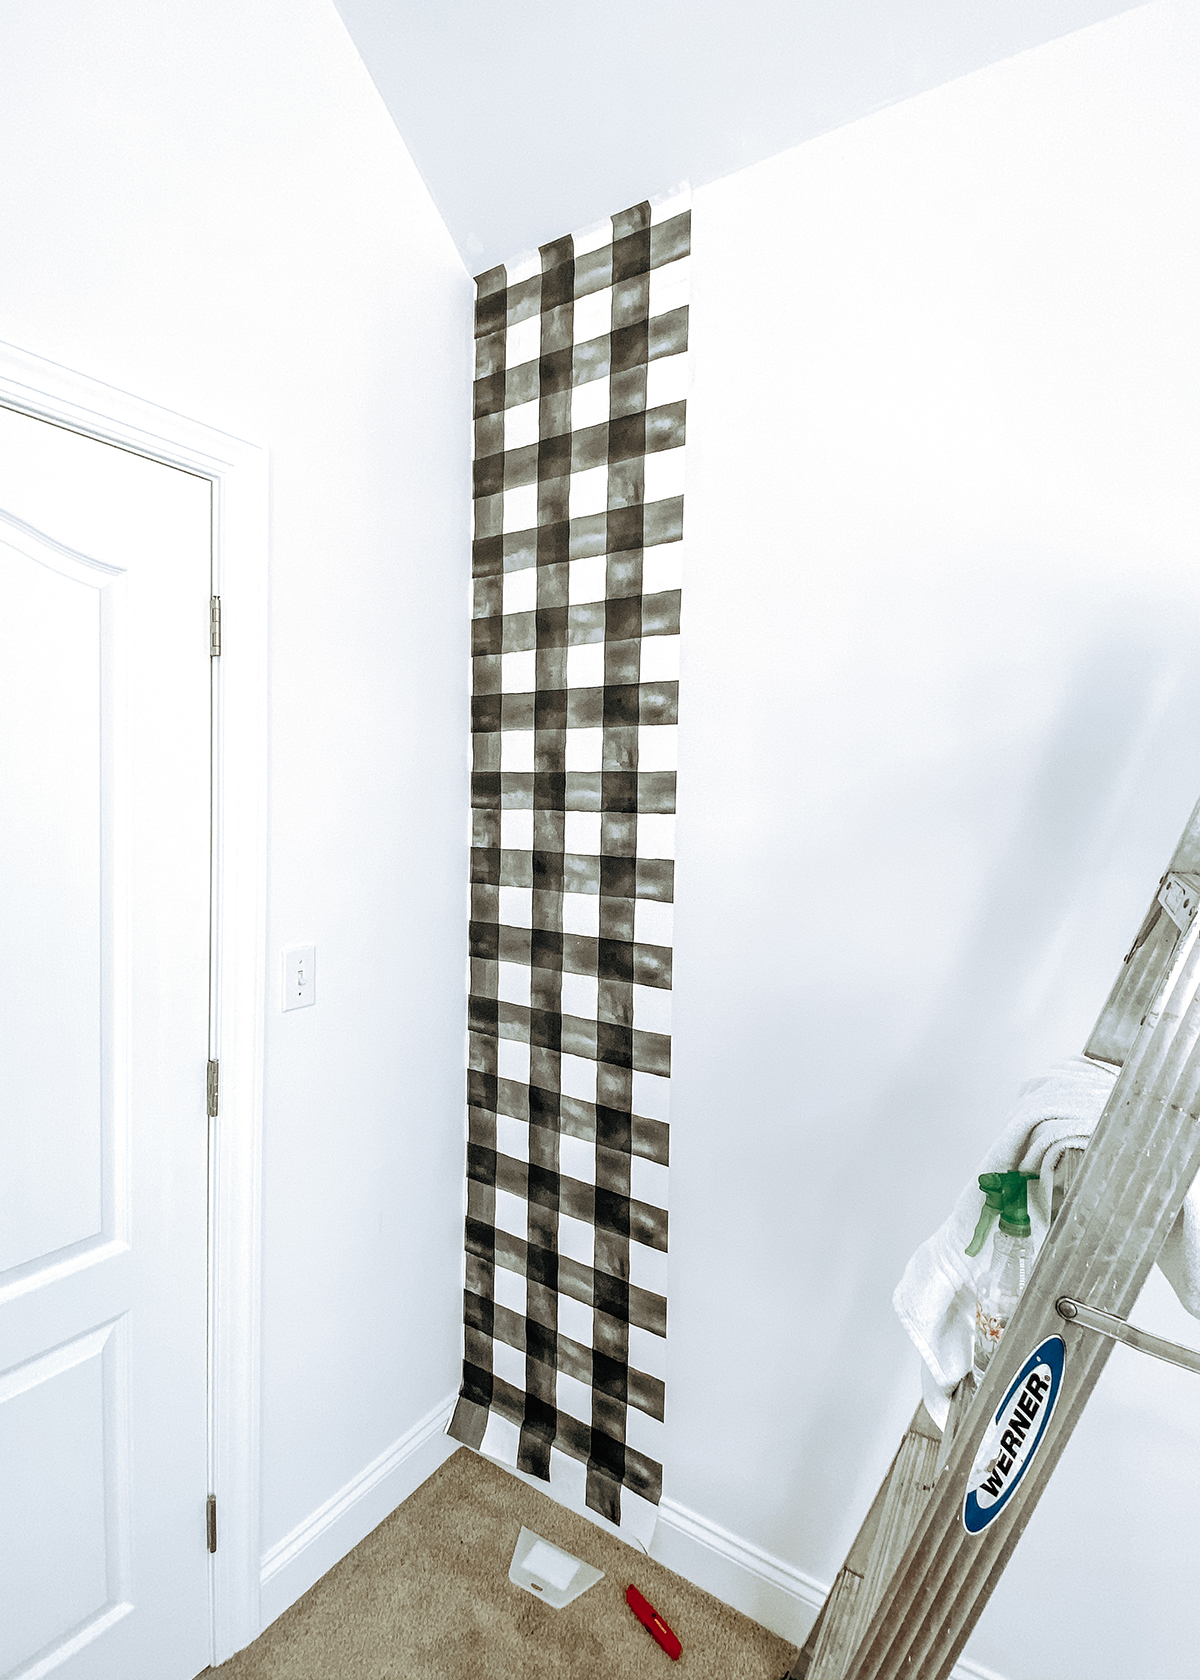
Tip No. 3 /// Choose what end of the wall to begin work on. We started in the far left corner of the room. Since this was our first go at hanging wallpaper, this end of the wall would be less noticeable if we messed up while getting the hang of it.
Tip No. 4 /// Cut wallpaper strips as you go instead of pre-measuring and cutting. It was much easier that way and required less brain power from us.
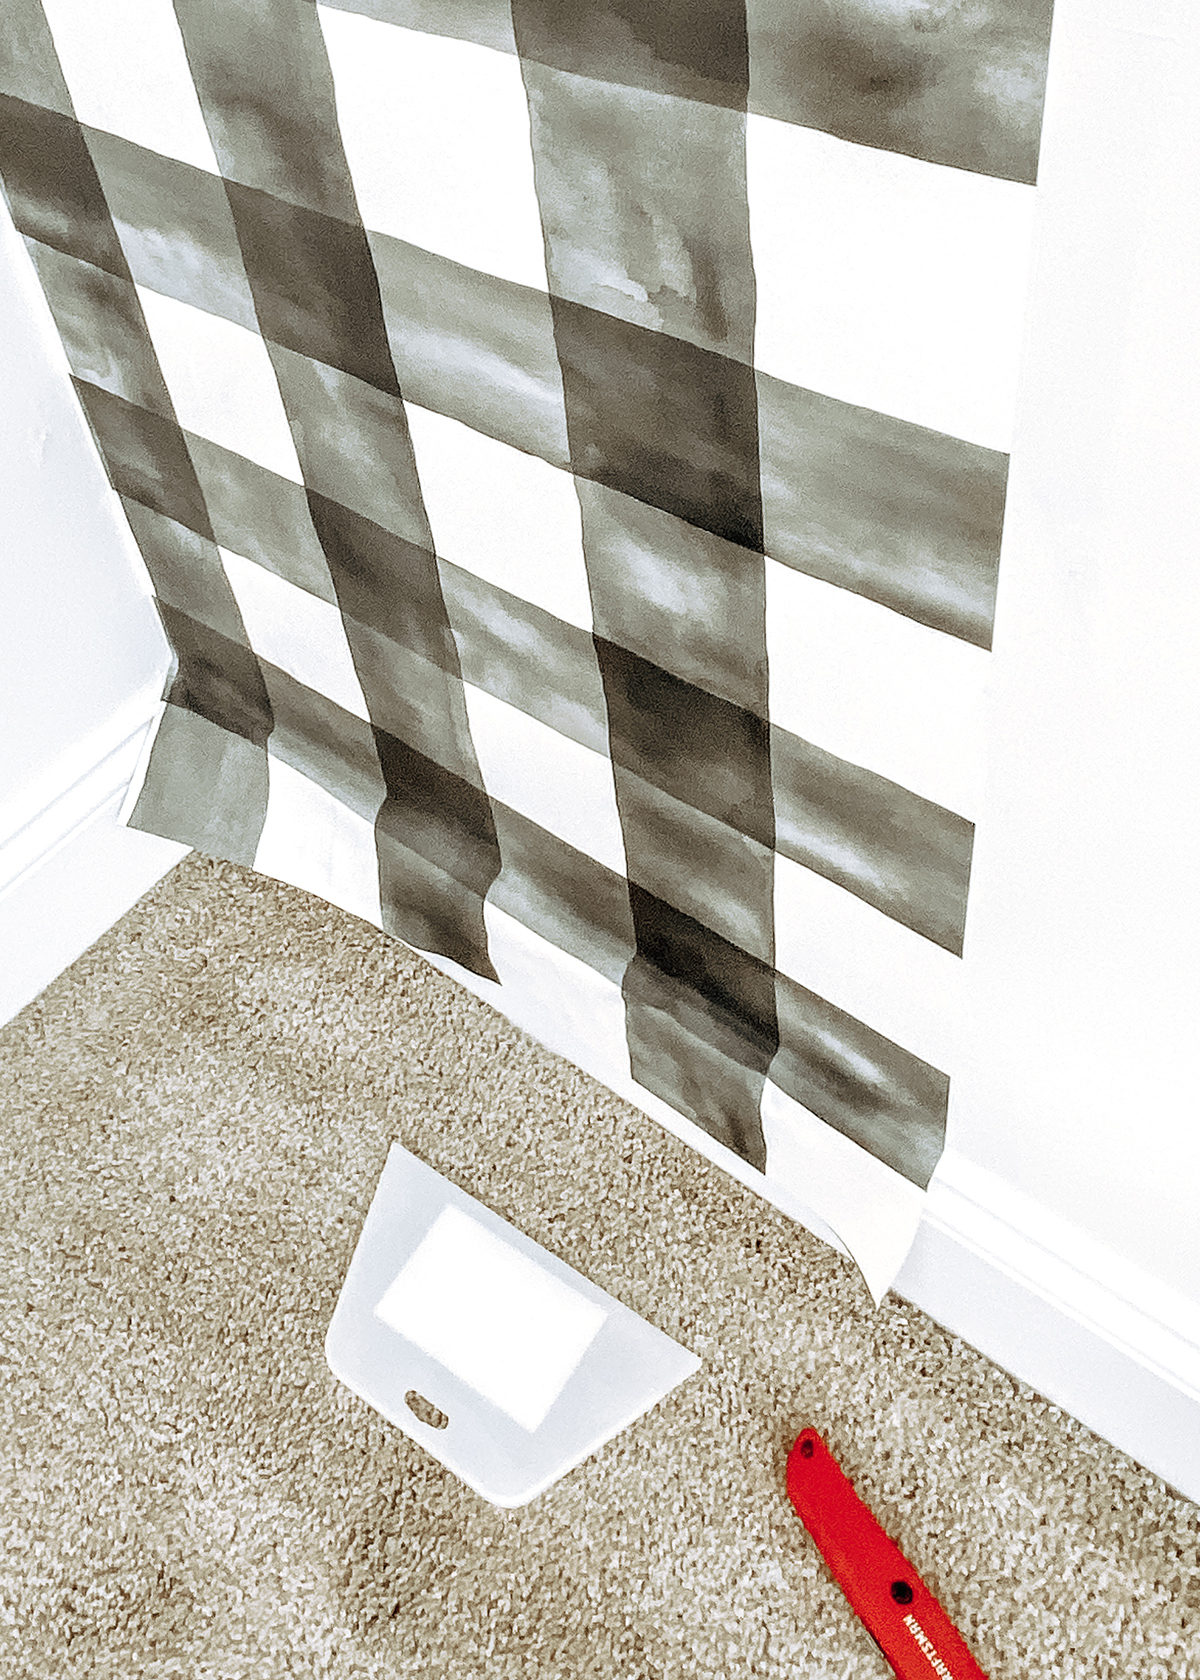
Tip No. 5 /// Cut strips taller than your wall. You want a couple inches of overhang at the top and bottom of the wall. You will trim off the overhang with your razor knife once the strip is adhered to the wall. This will give you a clean, smooth edge that perfectly lines up with the top and bottom of your wall.
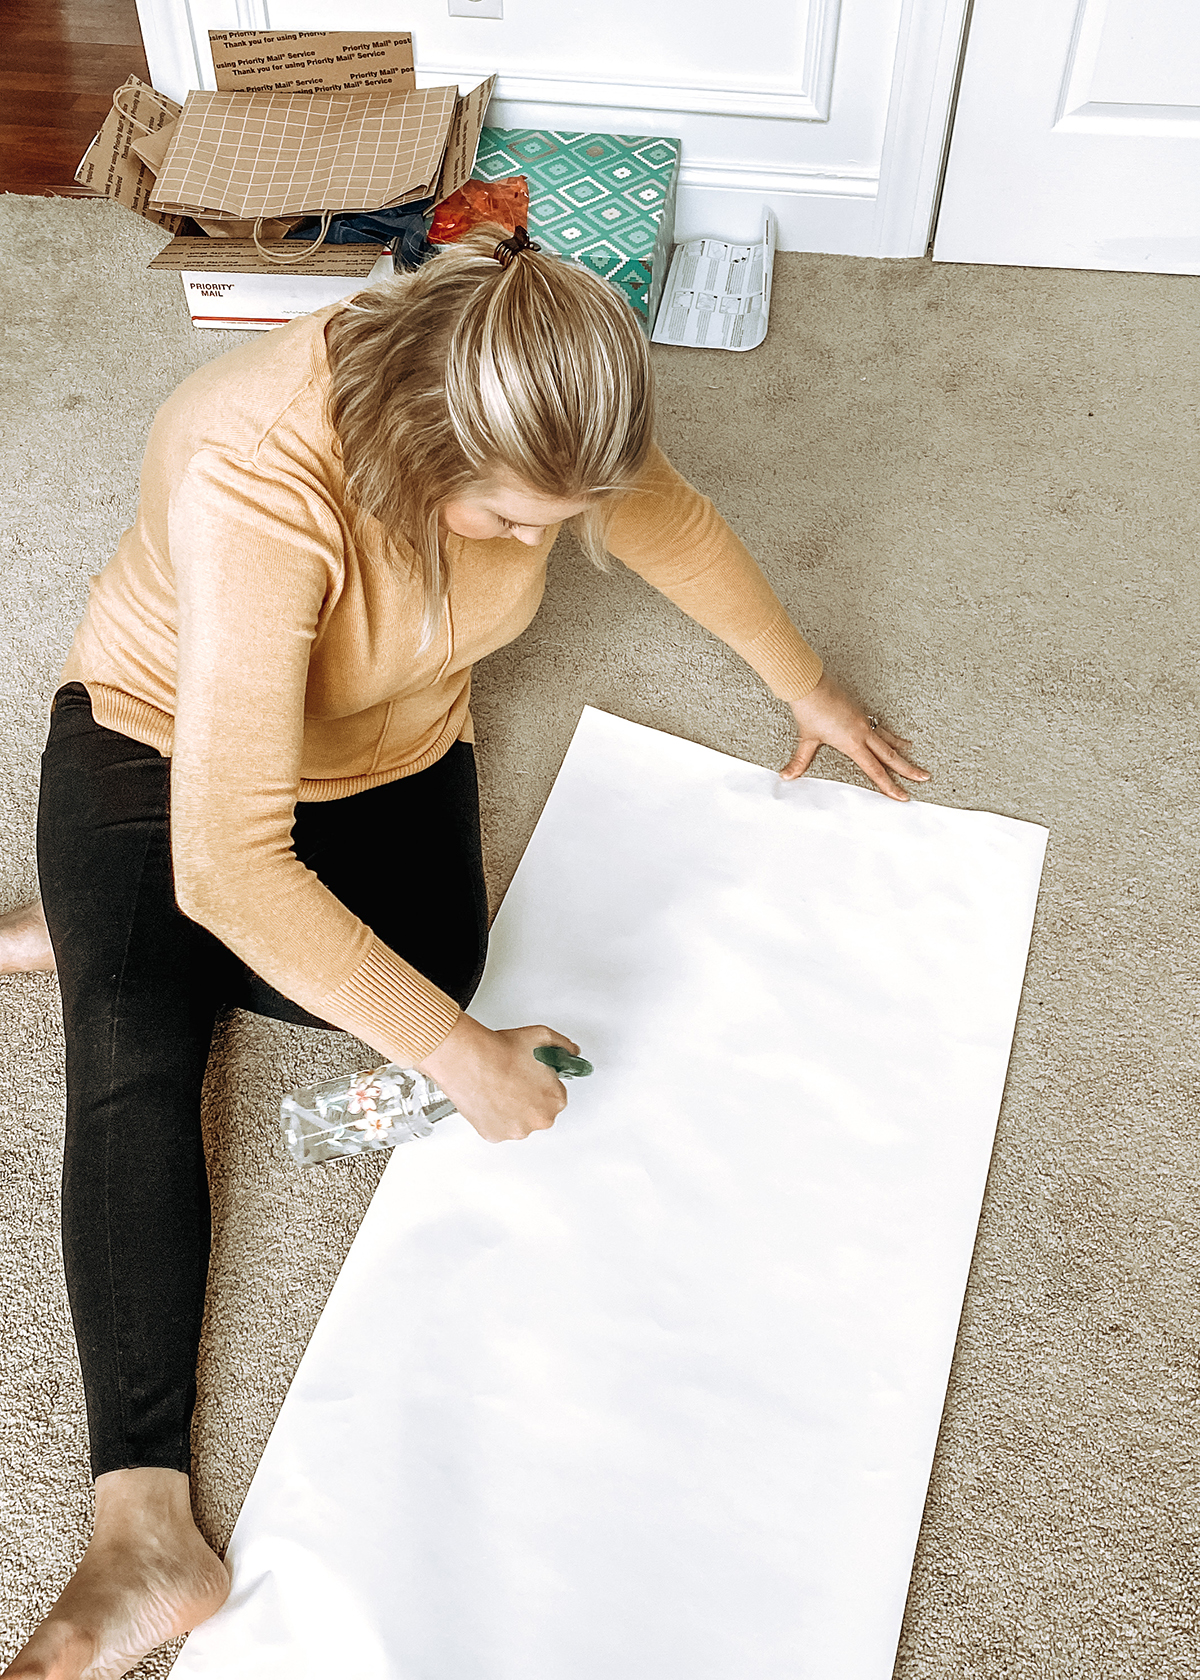
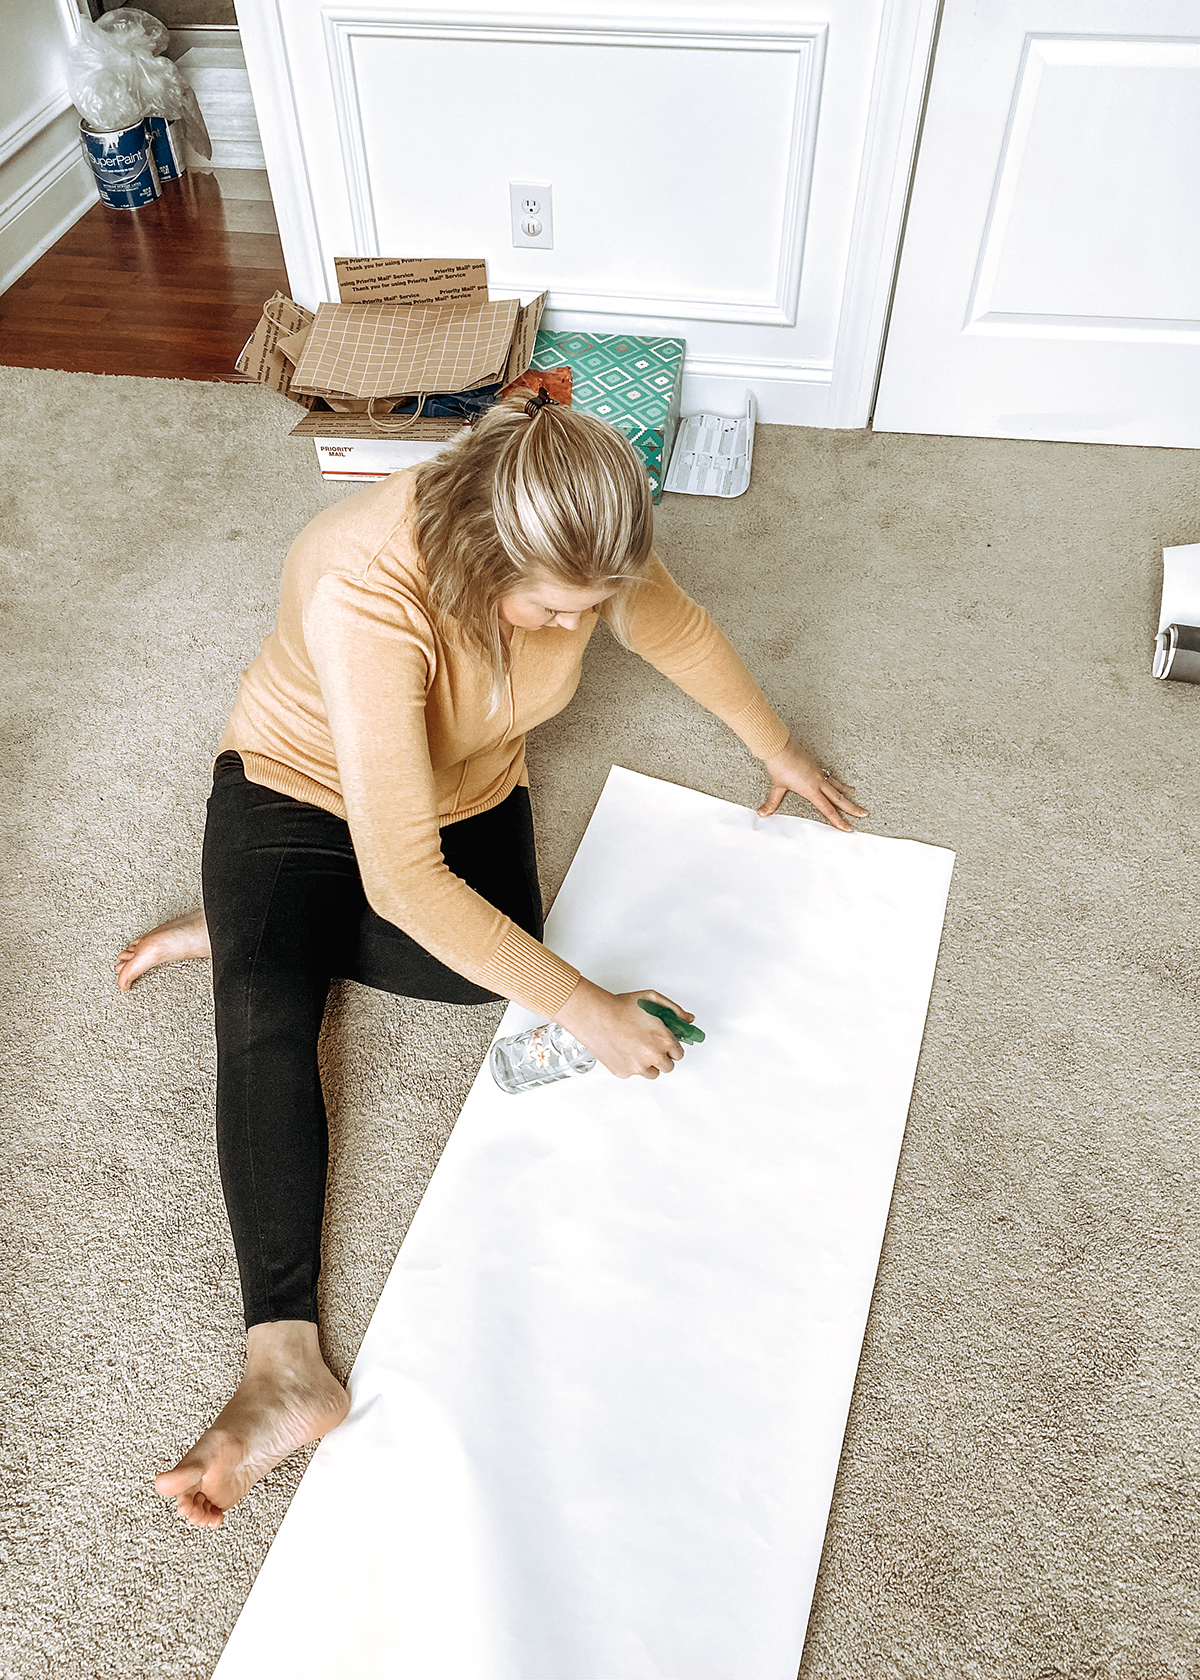
Tip No. 6 /// To wet the back of the wallpaper (the pre-pasted side), lay your cut strip print side down on a drop cloth to prevent saturating your floor. Please ignore the fact that I am not following my own advice in the photos above. Use a spray bottle to wet the pre-pasted side of the wallpaper and activate the adhesive. Make sure to wet the edges well.


Tip No. 7 /// To hang, place your first strip of wallpaper on wall starting at the top, with about 2 inches of wallpaper hanging over on ceiling. Begin working your way down, smoothing wallpaper with straight edge tool and adhering paper to wall. Smooth out all air bubbles. We found that working the smoothing tool left to right (or right to left) was best. Then, we slid the tool down the wallpaper strip to push additional air bubbles to the bottom. Because this is pre-pasted paper, it is likely that some of the paste/adhesive will be pushed out of the edges of the wallpaper as you’re placing it on the wall and smoothing out the air bubbles. Wipe the paste away with an old towel.
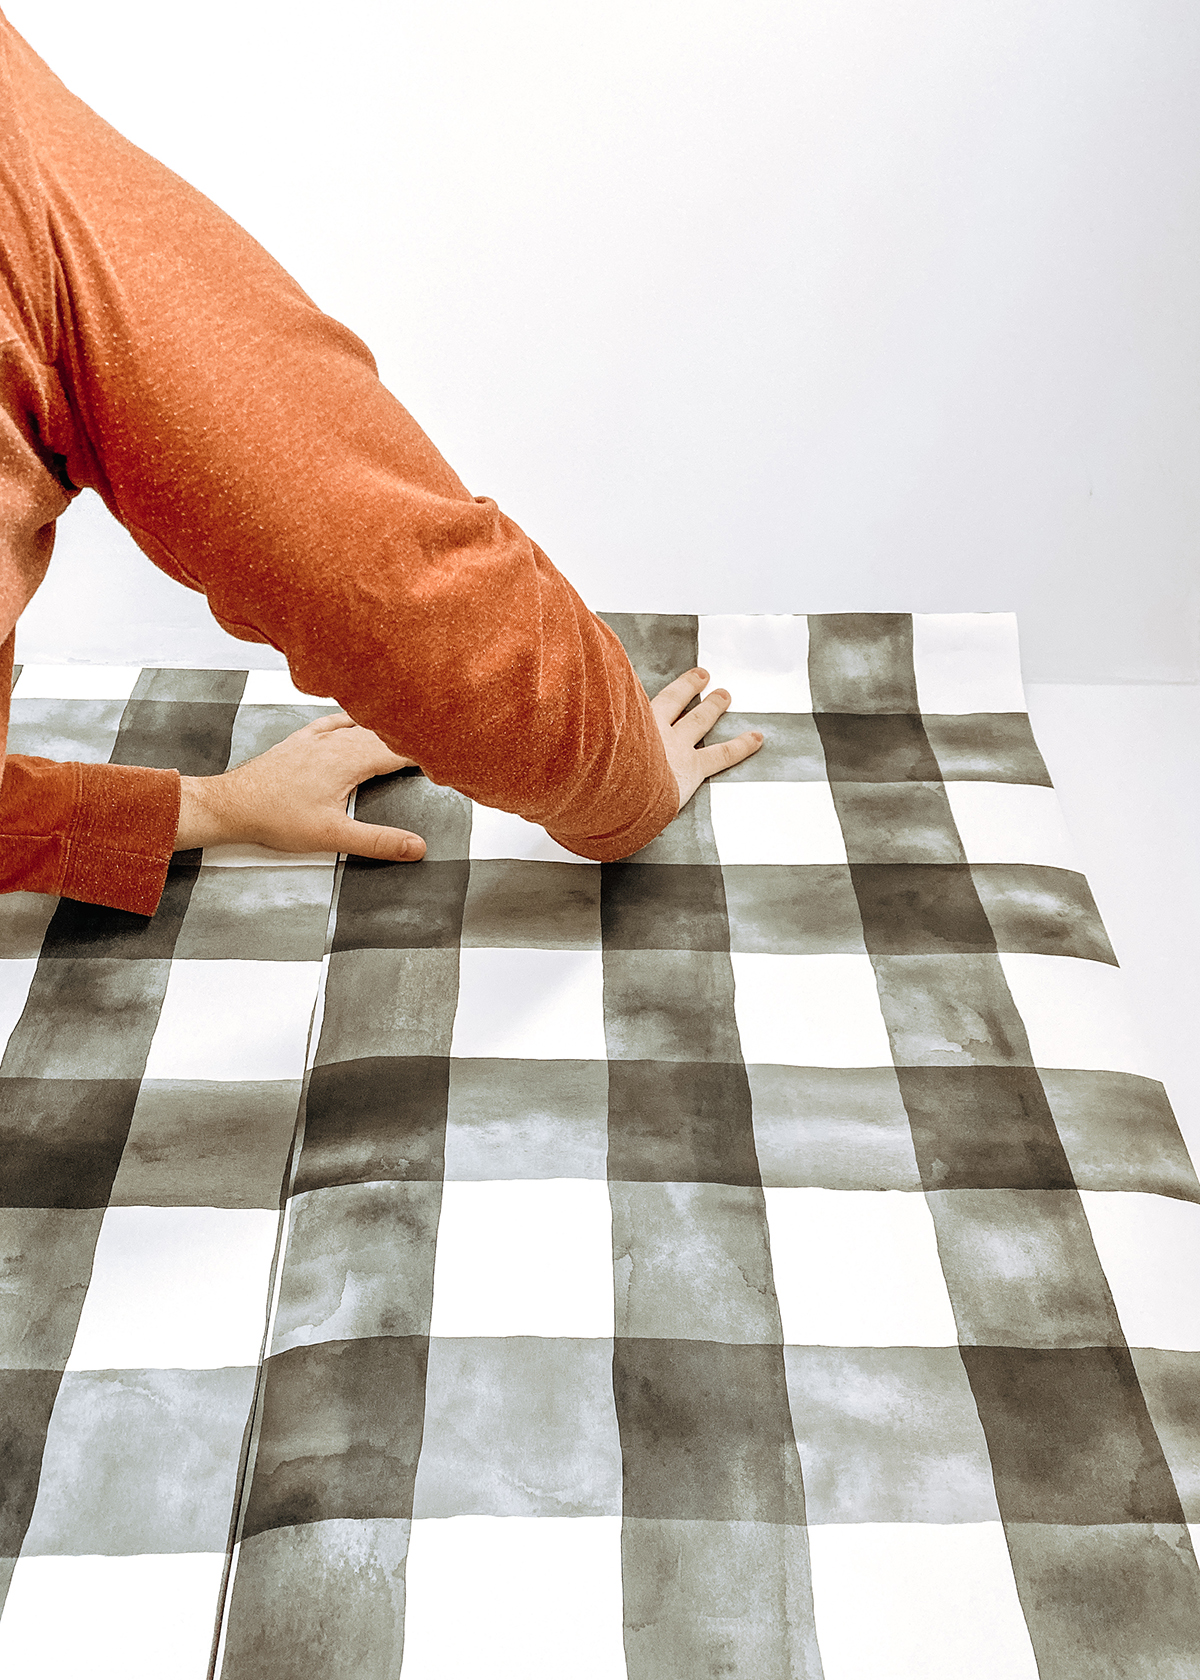

Tip No. 8 /// For each subsequent strip you hang, overlap with previously hung strip to perfectly match up the wallpaper’s print.
Tip No. 9 /// Let each strip dry on the wall before hanging the next. Because you’re overlapping the strips, adding a wet strip over top of a strip that isn’t dry yet will cause the previously placed strip to shift slightly.


Tip No. 10 /// When trimming your overhang, place smoother tool or yardstick below razor knife to keep from cutting into the wall. This will also help you cut a straight line.
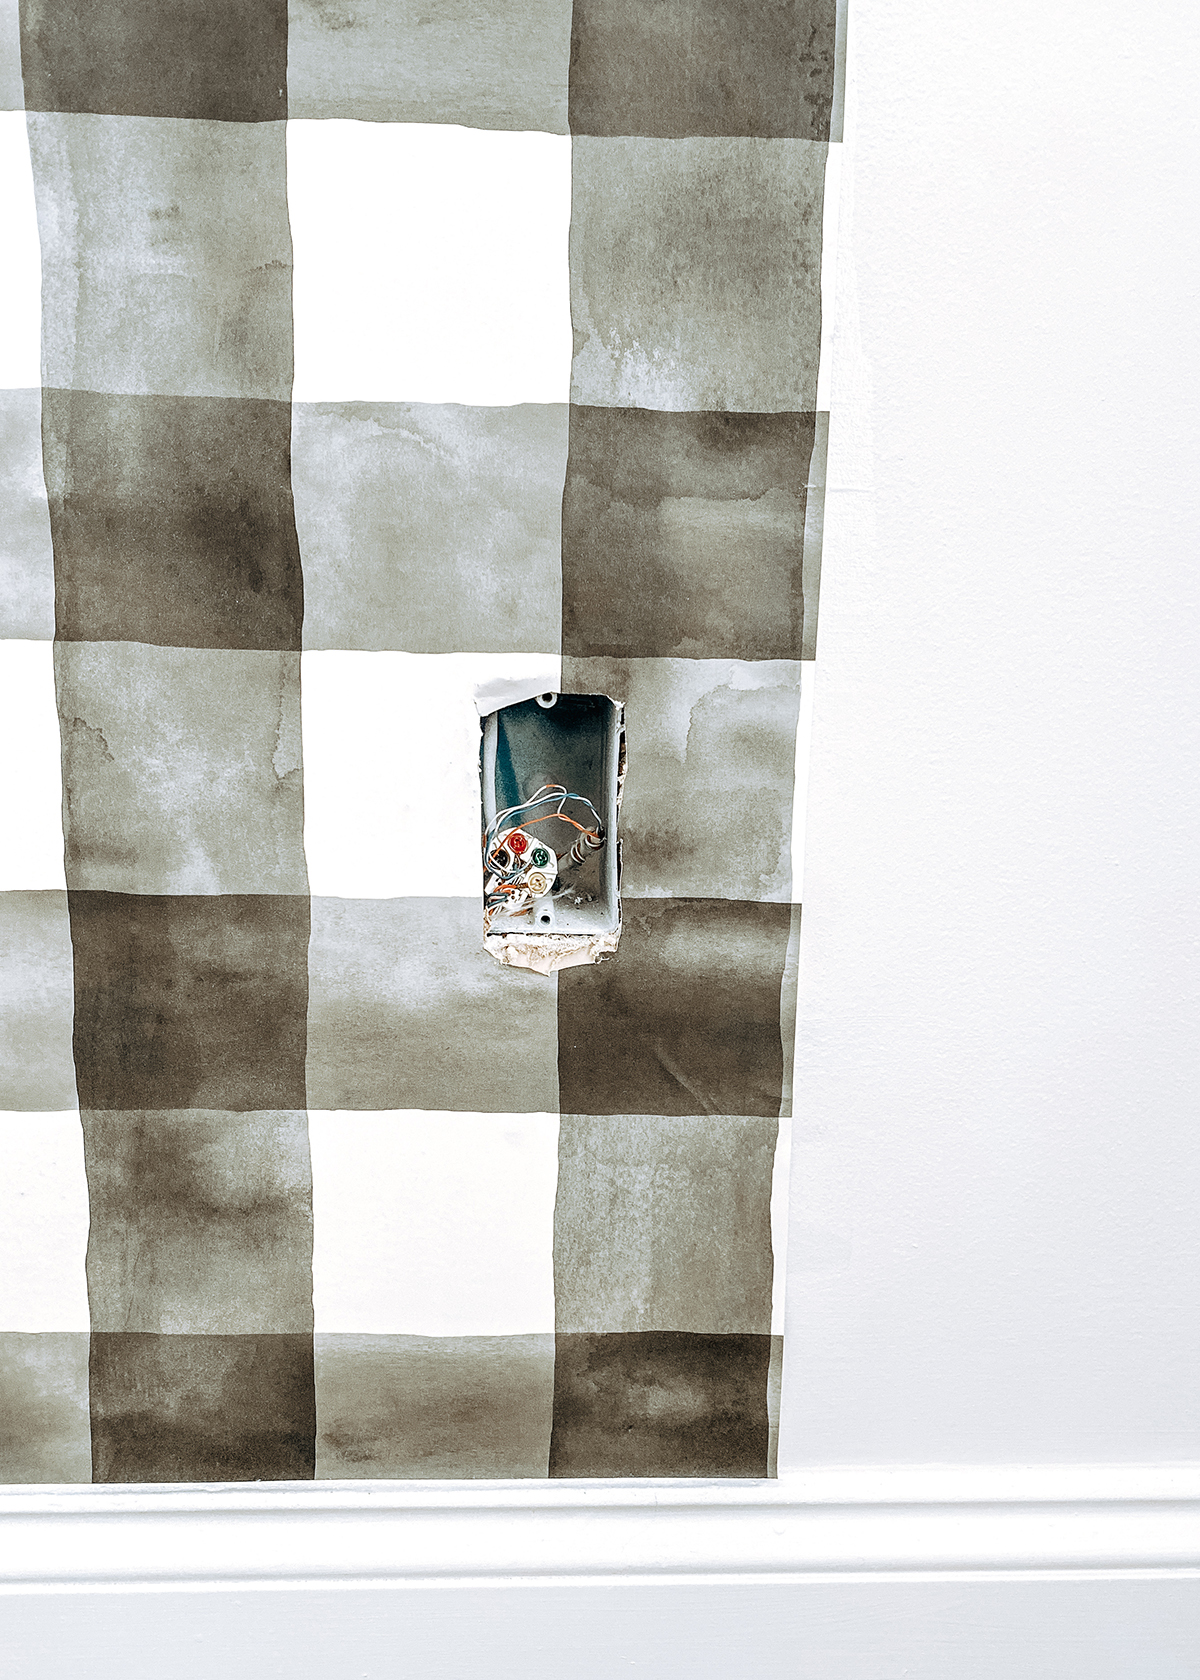
Tip No. 11 /// Cutting around electrical outlets was the most challenging part of this process, but it wasn’t that difficult. First, remove any outlet covers. To cut around electrical outlets, we simply started by hanging the strip of wallpaper like we normally would (starting at the top and working our way to the bottom). Once we got close to the outlet (keep in mind, the outlet will be completely covered by the wallpaper at this point), we used our fingers to feel around the area where the outlet is. Using a pencil, we marked the corners of the outlet hole on the wallpaper and then used the razor knife to cut out a rectangle slightly larger than the outlet. The cutout doesn’t have to be perfect since you’re putting an outlet cover back on the wall. The cover will help conceal most imperfections you make when cutting around the outlet.
Tip No. 12 /// Be patient. This is an easy project but not necessarily a quick one (depending on the size of the space you’re covering). If you get frustrated with it, walk away and come back later. Frustration and impatience will only lead to a sloppy finished project.
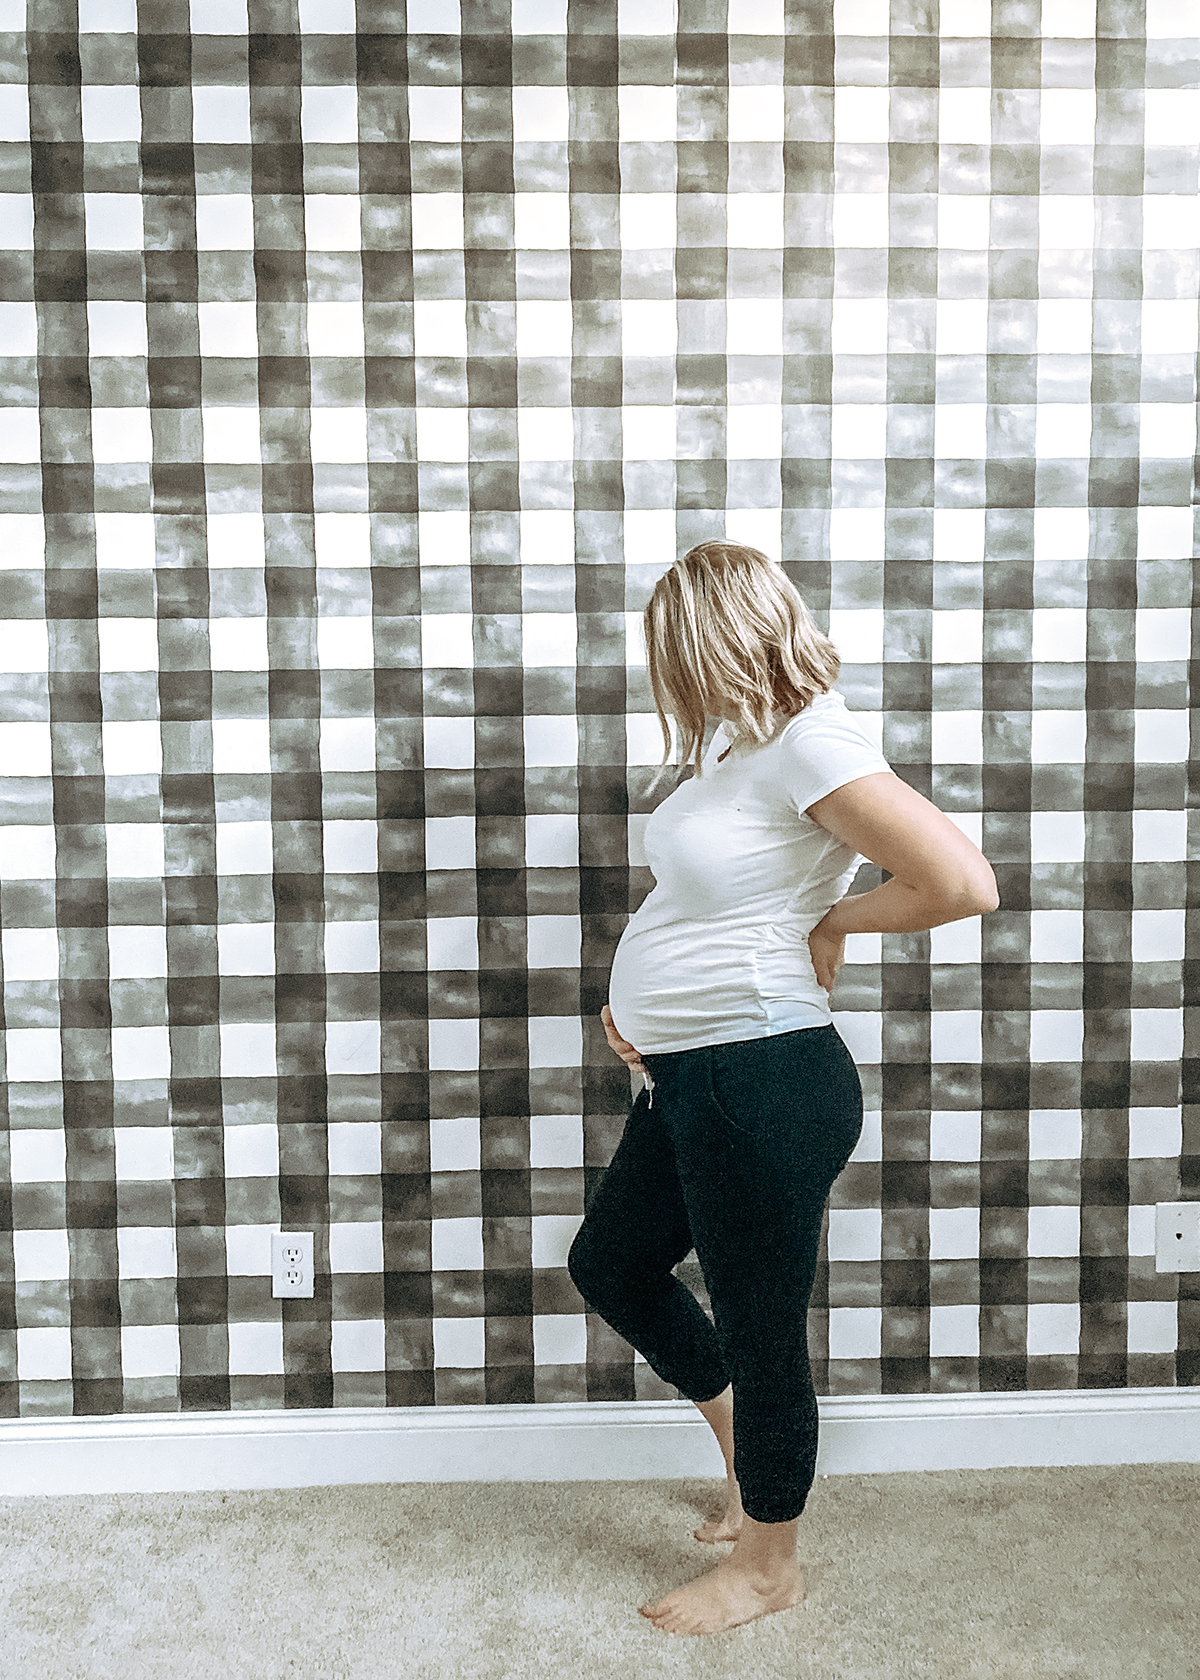
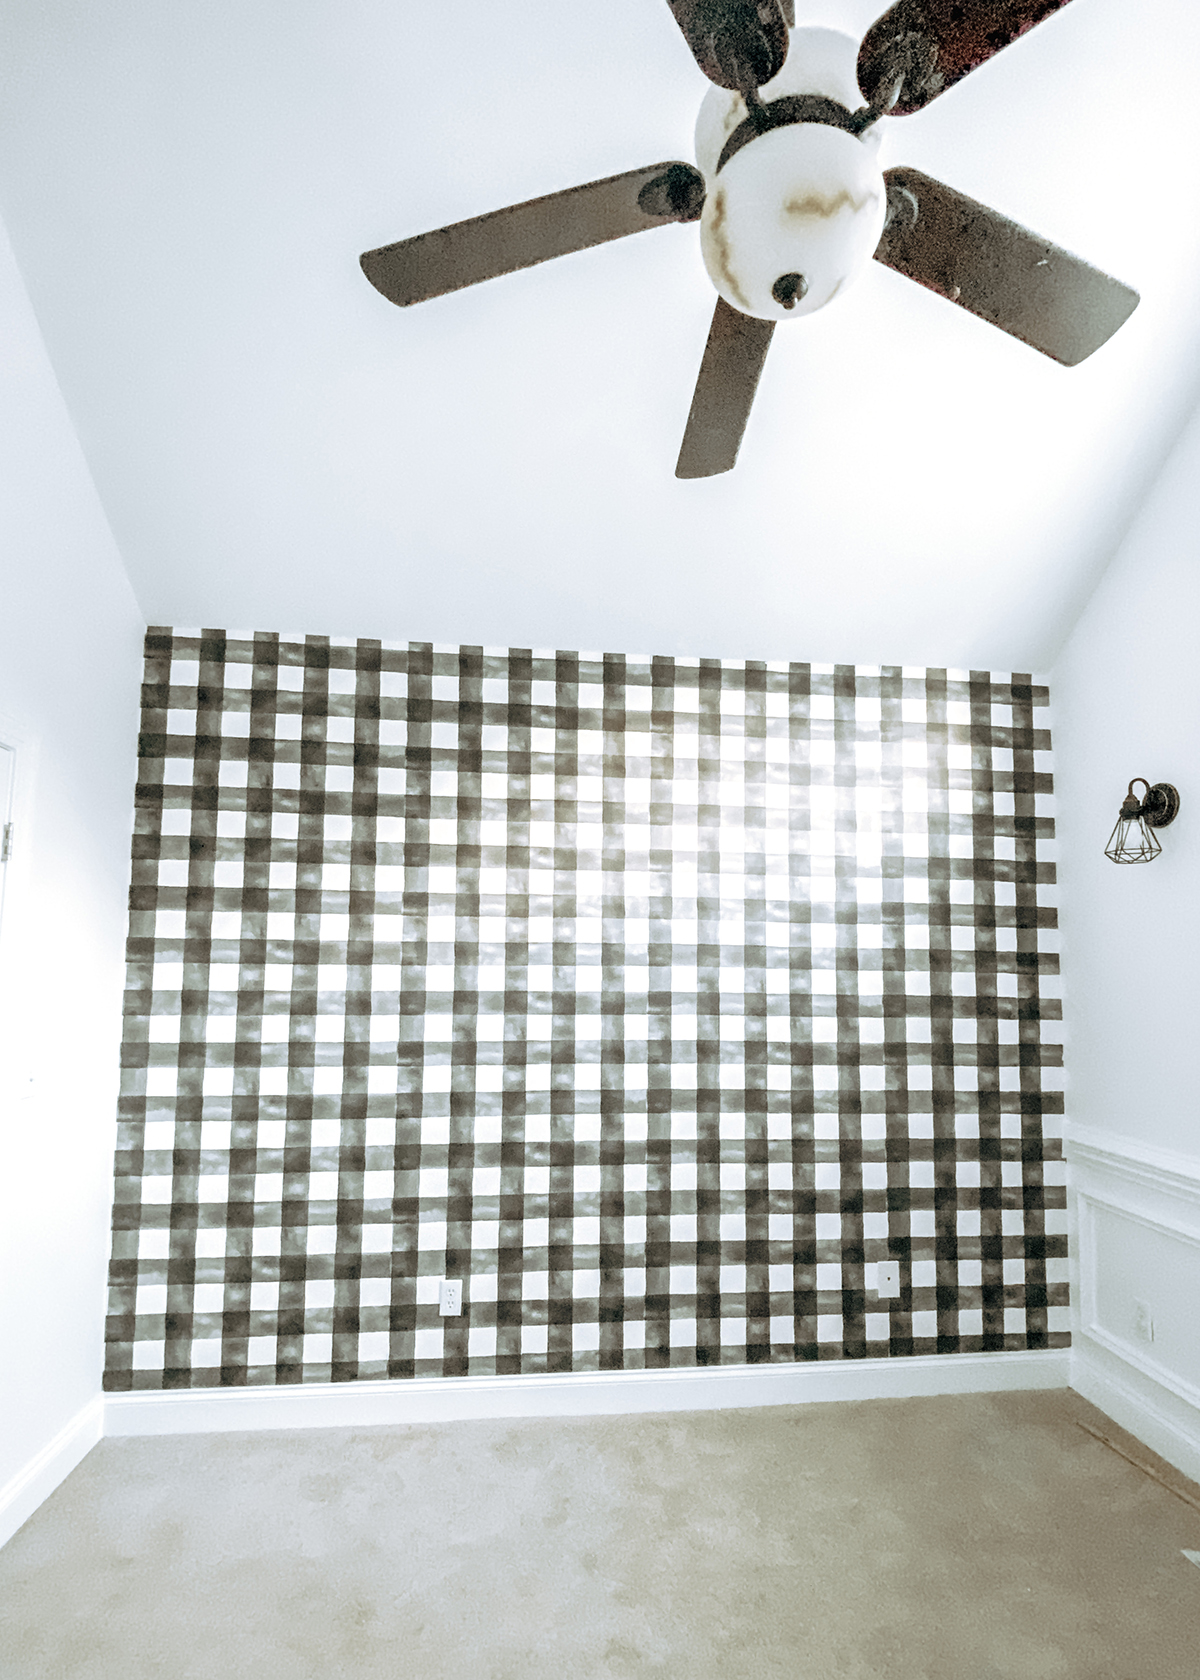
When I say I’m obsessed with how this turned out, I mean it. I catch myself walking into his otherwise unfinished room and gazing at this big, bold wall.
I could sit in here for hours, some days — which is good because I’m going to be spending a lot of time in his room once he arrives.


